Showing posts with label silhouette sd. Show all posts

3D manger tutorial

Silhouette has the wrong file for this box, so if you are in desperate need of this, please send me an email titled "3D Manger" to snapdragonsnippets(at)gmail(.dot)com and I will send you back the correct file.

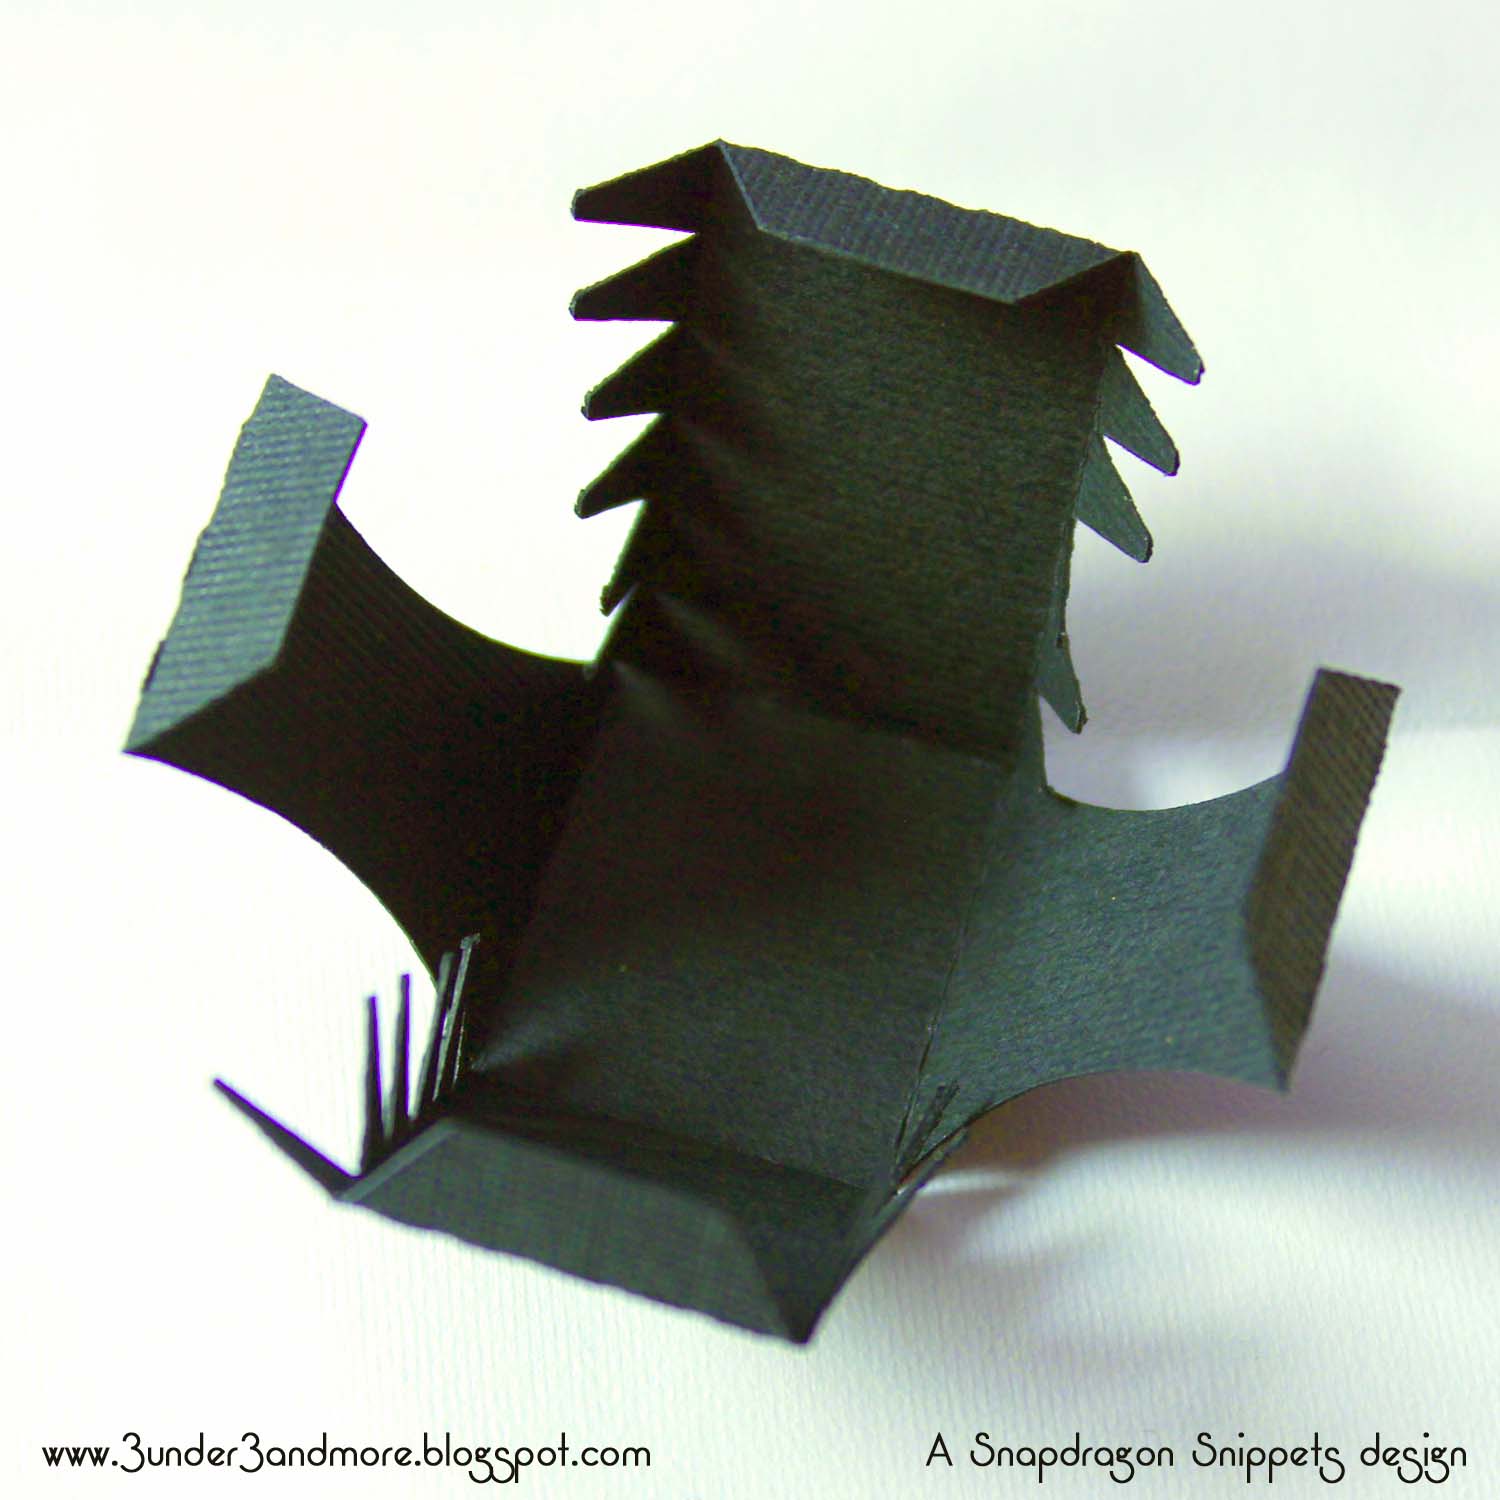
*One note I meant to type out. The first photo shows that one "x" is shorter than the other. When laid out flat like in the second photo, the larger "x" connects to the middle piece. This is allows the shorter "x" to tuck up inside the other in later steps.

3D Cornucopia Part 2 plus inking tutorial


This is PART 2 of the 3D Cornucopia tutorial. 
In this tutorial, I quickly cover applying the accent shapes and finishing touches that I used in my sample.


We ended the last tutorial with just the basic form. 
It by itself, could be used for decorations or as a gift. If you want to add a little more though, I've provided some accent shapes to dress it up even more. You could mix up the strips in different papers to jazz it up even more than I have. 


Cut the accent shapes.
I cut my accents from a cream paper with a burnt sienna colored design. 
After cutting them, I inked the edges of each piece. 

Inking mini-tutorial.
Here's a mini tutorial for how I ink my papers. I'm no pro at this so please don't think this is the way you must do it. There are many techniques, and this is just how I've found to do it. I'd love to hear what your techniques are too!

To ink the easy to access edges of the paper, I simply hold my paper in one hand and brush my ink pad from inside to outside softly a couple times until I acquire the darkness I want. I go from inside to outside instead of side to side. I find that I get a softer, more gradual gradient change this way.

To ink the small cuts like the circles in this shape, I lay my shape on a scrap piece of paper. Then I take a cue tip and dab a little ink on the end. Then carefully dab or brush my paper to the desired shade. I find that it's best to only put a little ink on my paper at a time. This way I don't darken the edge too much and still get that soft gradual color change. 

In my sample, I used Colorbox's Classic Pigment Cat's Eyes. These are definitely not my favorite inks to use, but I can use my JoAnn's coupons to get them for a good price and they come with 6 colors and stack nicely saving space. 

I used the "Cocoa" ink for this project. 


So to continue with the assembly tutorial...

Adding the cornucopia rim.
I didn't show this shape up above, but you should be able to find it in your file. 
The shape that looks like an arch with scallops on both sides is the accent for the rim of the Cornucopia.

Start from the center!
When applying the rim, be sure to find the center of the rim shape and where it coincides with the actual rim. Because of the curve, if you don't start in the center when adhering this piece, it won't fit right. So glue the center and work your way around each side, lining up the outer scallop edge.


Center the largest accent.
Starting with the reverse scalloped accent, center it on the largest ring of the Cornucopia. Again, be sure to start from the center


The accents for the largest three rings will only go to the perforation marks since they won't be seen on the bottom. The rest will fit around with a small gap at the back. 


Continue adding accents and your done!
Now fill with wax fruit, paper fruit or real fruits and veggies 
and enjoy at your feast this November!


3D Paper Witch's Boot Tutorial

This is the first of the witches boot series by Snapdragon Snippets that will be available or already available through Silhouette America's online store. For more info about how the Silhouette die cutting machine works and where to get it, see www.silhouetteamerica.com

To see all digital die cut designs available by Snapdragon Snippets, click HERE!

This tutorial shows some quick tips to make assembling a little easier. 
To start, I usually like to prep each piece. By this, I mean fold all tabs in the correct directions, and finger curl the paper to fit around curves a little better. 
Here's how I curl the back piece that fits around the heel. You can look at the final photo to get an idea of the curvature. In the photo below, the end with the tab is on the left side. 

And here is how to curve the bottom of the boot:

For the heel section, fold all tabs in as shown below:

For the top section of the boot, I laced up with ribbon. 

After lacing and tying the ribbon to keep it out of the way, I attached the tongue of the boot to the back as shown and curled the ends up:

Next, starting at the toe, slowly work your way up the boot. 
*Be sure to take your time in attaching the sole and the top. If you go to fast, the sole may end up not lining up in the end. Also, if you do to much of one side at once, it will be difficult to reach your fingers inside the boot to adhere the rest of the sides. 


Once the sole of the boot is attached, move on to the back. 

Assemble the heel as shown:

And adhere to the bottom of the boot. I like to line up the back edge of the heel and the boot to make a nice flowing curve. 

And that's it! There are so many ways to dress this up! I'd love to see what you come up with!

3D Alphabet tutorial: Letter B

I wanted to write a full out tutorial for the letter B box but haven't been able to get around to it. Here's the photos I made a couple weeks for it.


I'm hoping you can understand from the photos until I can get around to explaining them. Already 2 am her so I need to head to bed!

"A" my name is...

I am really excited for this new series. I've been working on these for almost a month now. Lots of math involved to get correct curve lengths, but the end result are these fun 3D alphabet letters! Numbers will be coming too. I will be releasing at least 2 a week and in alphabetic order. So watch for these every Monday or Tuesday in the Silhouette Online store.

I hope all you woman whether you have children or not, had a terrific Mother's day! I hope the men in your life treated you well! I woke up to "French pancakes" with strawberries, whipped creme and powdered sugar. Yummm, so good. I did go to my crop last night too, and it was the best gift I could have received! I met some wonderful ladies, and finished a layout! (Minus photos) Watch for these shapes and more in the store this week too. (squiggle border is from Loni Stevens and sun is mine released last May. Search: '2 layer sun'


Here is a sketch of the double page layout too. 


CyberMonday Silhouette deals!

Today is the last day! Go purchase as many designs as you can before they are back to .99! Also, 30% off at Silhouette America!
50¢ Shape Sale


Exploding Box Tutorial

Here is a simple fun way to use the exploding box templates. For this demo, I used the scalloped exploding box to make a little album for a family member. 
I started off with the largest base piece and added photos and frames to the four outer squares on the side that will be on the inside of the box.


I then added photos and frames to the medium and small bases. After doing this, I applied adhesive to the middle of the underside of my medium and small bases and centered the medium over the large and the small over the medium.


I decided it needed a little more, so I added some die cuts to the other side of my bases as shown.
To close, simple fold up the sides and slide on the lid:


Endless possibilities for these boxes. Use embellishments of any kind. Even hide a gift in the middle! The funnest part about these boxes, is that when you pull of the lid, the EXPLODE! 
From this:


To this:

What can you come up with?


For the Grads!

Here are a few Graduation shapes available this week and last week in the Silhouette Online Store.


Related Posts with Thumbnails