Showing posts with label box. Show all posts

Out of this world! 3D Rocket Box Tutorial


A few weeks ago, we released a cute little rocket box in the Silhouette Online Store. There were a few glitches, but it is now back! I'd love to take credit for it, but it was mostly all Mike's creation. I just love it! I guess to make a cool boy box, it really does take a guy.

For the tutorial, we asked the amazing Sarah Traub to once again work her magic in video tutorials. She did not disappoint. I especially love the little clip at the end! You'll know what I mean when you see it.
So without further adieu, here is Sarah's Tutorial of the 3D Rocket Box from Snapdragon Snippets!

3D ROCKET BOX TUTORIAL 
by Sarah Traub

The digital die cut for this file can be found in the Silhouette Online Store in .studio form
or at www.snapdragonsnippets.com in .svg form

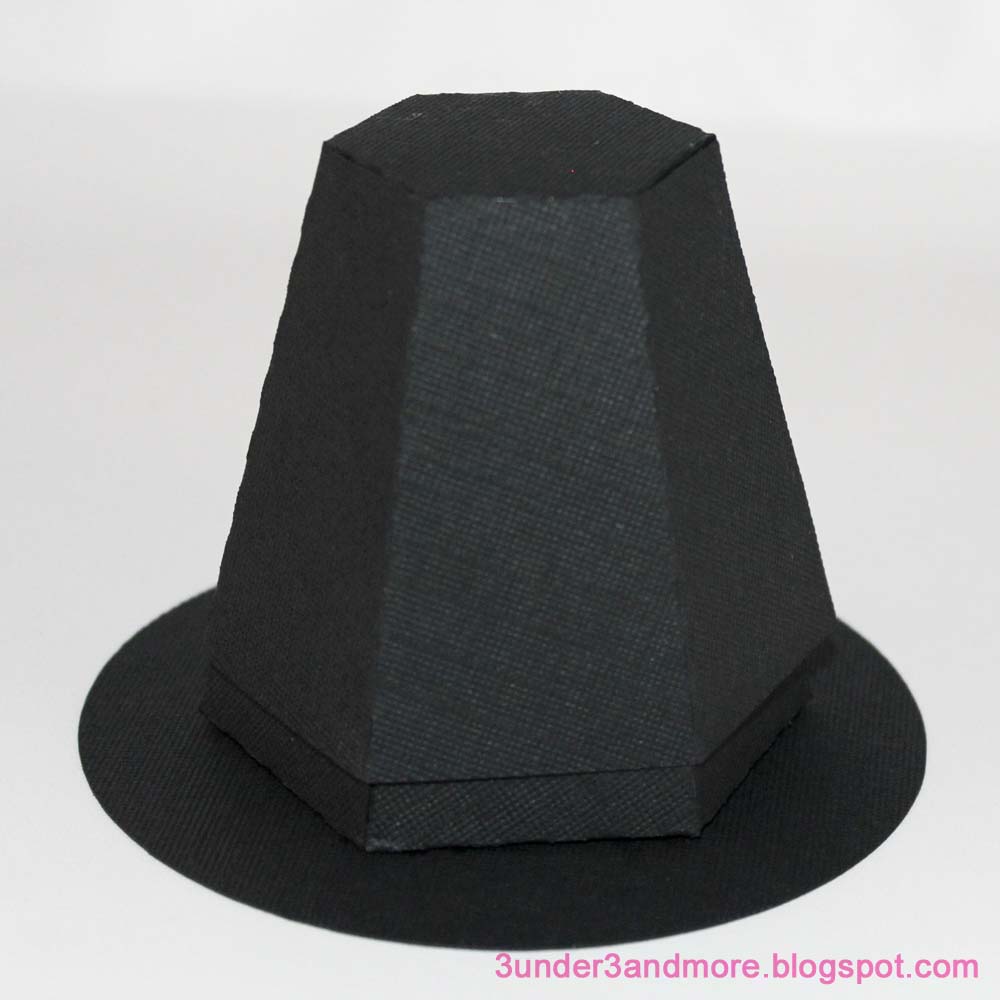
3D pilgrim hat tutorial


This tutorial is for assembly of the 3D pilgrim hat box die cut that can be found on the Silhouette Online Store. 
These are the shapes that you will have in your file. I cut the lid, base and brim out of black cardstock. The belt around the lower part of the hat, I cut from a dark gray cardstock and the buckle was cut from goldenrod yellow.


First, all fold lines fold in toward the wrong side of the paper. Above is  about what your lid will look like when all folds fold in. I prefer to crease all folds before I start assembling.

I then applied a liquid adhesive to all the tabs. 

And then careful worked my way around the hexagon attaching the sides of the lid.

When finished, your lid should look like this.

Next, attach the tab on the base to the other end to form a hexagon as shown. All tabs should be bent inward.

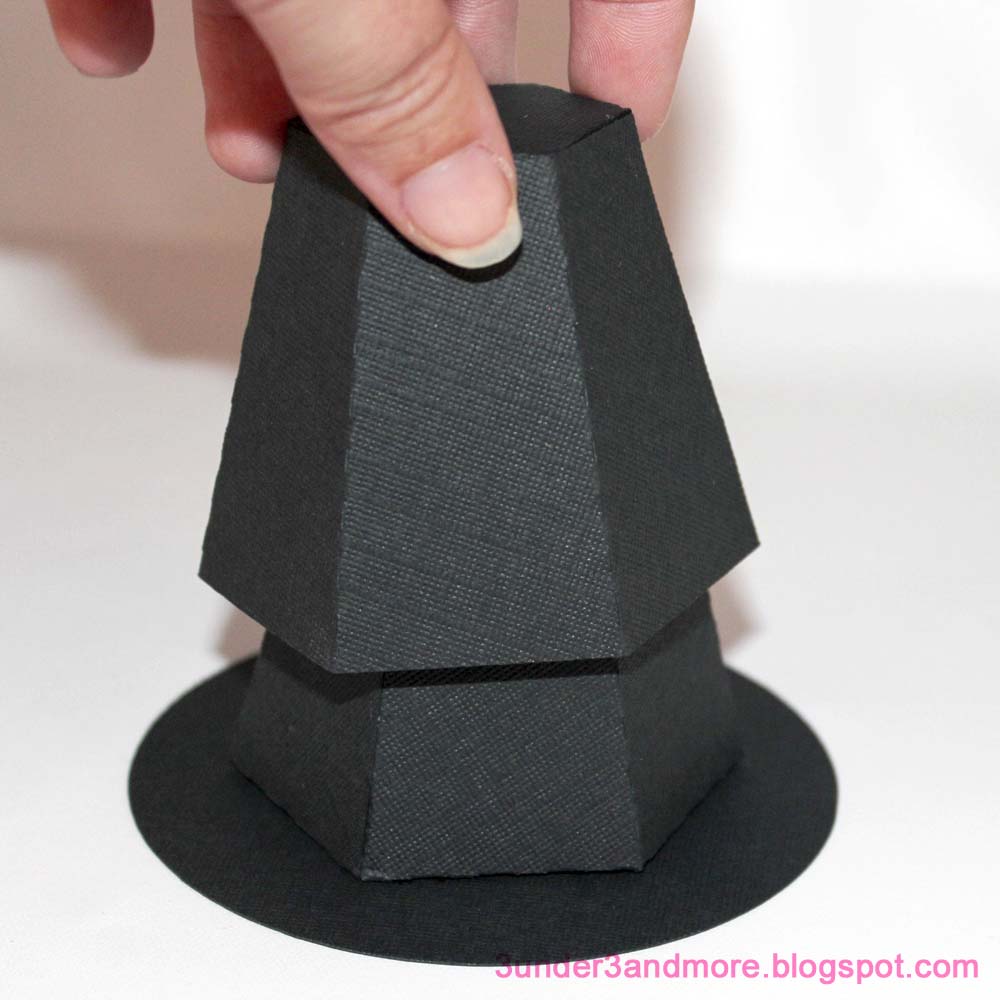
I place the base inside the lid to help it keep it's form as I attach it to the brim.

Next, apply your adhesive to the tabs.

And carefully, center it on the brim. 

Press down gently on the top to be sure that  the base is sticking.

Carefully tug off the lid.
*Sometimes, I have to hold the base down with my fingernail on a corner while I tug on the top.  (If you notice the front left corner of my base in the photo has a slight crease at the bottom. This isn't noticable when your finished though.)

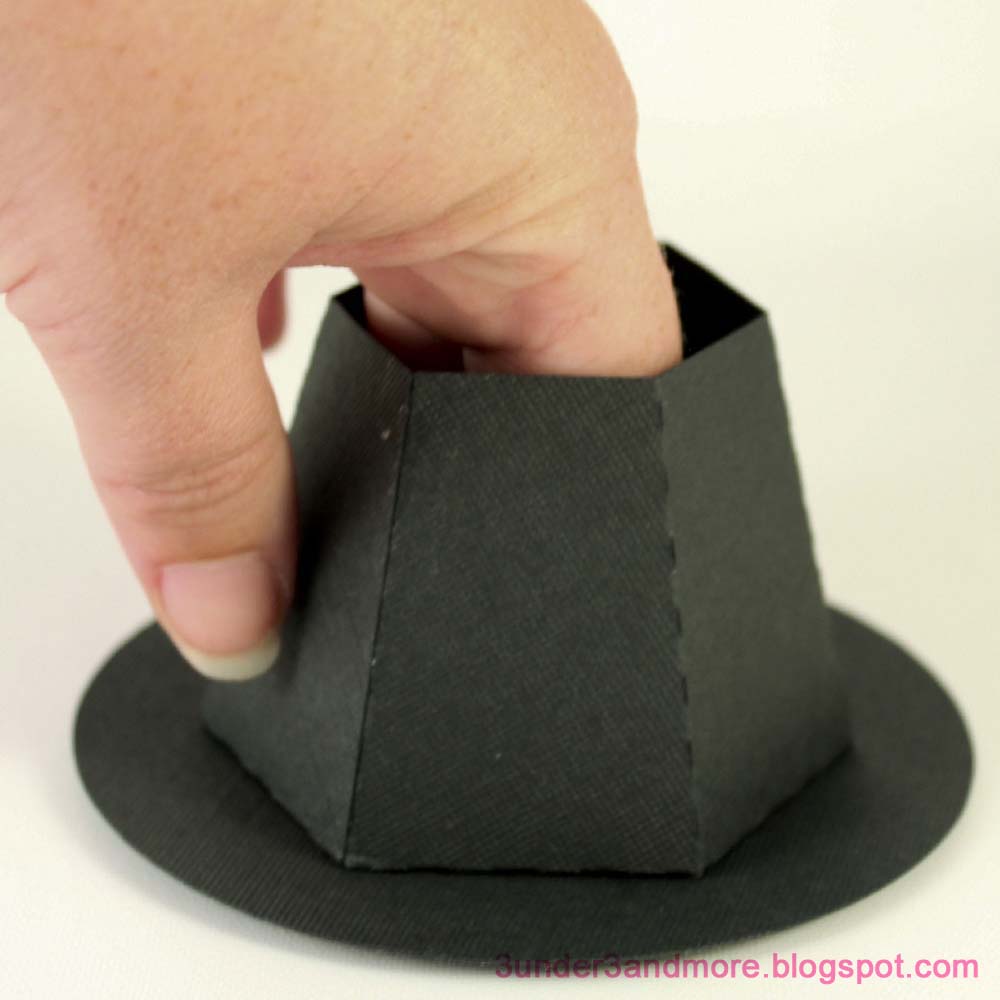
Reach your fingers in and press on the tabs to be sure they are secure to the brim.

Create another hexagon shape with the belt by glueing end to end.

Apply buckle to belt with a little adhesive.

Slip the belt over the lid and your finished!
Now fill with goodies and you have the perfect Thanksgiving party favor!

3D Candy Corn Box Tutorial

This is the tutorial for assembling the 3D Candy Corn box by Snapdragon Snippets. You can find the .studio file in the Silhouette Online Store.


When you receive your file, we will have 4 strips and 4 candy corn shapes. All four candy corn shapes are slightly different sizes. Stack all 4 together, with the smallest on top going down to the largest. The two smallest are the two that we will use first. We will be adhering the strips to these two shapes.
I've labeled the first two pieces we will using as "main top & main base".  (the smallest of the candy corns)
The two thick strips are for the base and the two thin strips are for the lid.

 To assemble the base, adhere one end tab of the thick strip to the other thick strip. Both strips are symmetrical so it is not important which end.
Glue thick strips together.

I like to curl my paper when going around curves to prevent creases. There are three spots once the strips are attached to each other that have smaller tabs. Each of these spots are a "corner" of the candy corn. These are the three spots that I curled.
Curl paper like a ribbon where the smaller tabs appear.

Take the SMALLEST candy corn shape. Find the 6 smaller tabs of the strip that does not have end-tabs. In the photo below, it would be the thick strip similar to the strip on the far left.
Arrow is pointing to 6 smaller strips we will be talking about.

 Adhere the top point of the SMALLEST candy corn shape to the middle of the 6 small tabs discussed earlier. Be sure to line the sides up as close as possible! Otherwise, the strips may not fit around the candy corn just right.
Glue small tabs to top point of smallest candy corn.
 Continue around, adhering group of tabs along the way. Smaller tabs should line up around corner.
Glue left side of tabs.

Continue around candy corn.

Adhere end tab and rest of smaller tabs to finish  base.
Repeat above steps for the lid.

Once finished assembling, you can add the optional extra candy corn shapes. The smaller leftover candy corn shape is for the base while the largest is for the lid. Simply apply adhesive on outside of box as shown for both base and lid. Press the accents on centered. This will give your box the overhang and make opening a little easier.
Apply adhesive to ouside of bottom and top of box if you'd like to use the accents. Other wise, skip to end. 


Largest candy corn shapes give an overhang on top and bottom and make opening a bit easier!

Finally, apply white, orange and yellow shapes and if you'd like to jazz it up a bit more, I've included ric-rac pieces to go around the lid.
Apply finishing touches, and your done!


handled box tutorial


Most of the boxes with handles I've made available to the Silhouette Online store will follow the following assembly instructions. This includes:
  • 3D handled box - heart (single heart window
  • 3D handled box - hearts (2 welded hearts window)
  • 3D handled box - lace (artisan looking lacey window)


The "3D heart handled box" is the only one at this time that's a little trickier, but it assembles the same. I'll let you know the tricky part on that box when we get to it, but for now, follow the tutorial below for it as well. 


Step 1
Crease all folds except the handles toward the inside. Handles fold towards the outside.

Step 2

Apply adhesive to tab on side, fold box around and attach tab to other end like photo below:

Step 3

 Fold bottom tabs in.

Step 4

 Tuck bottom round tab into slot.

Bottom should now look like this:

Step 5
If assembling one of the boxes with a window, attach cellophane or transparency material across the window on the inside. I usually roughly outline the window on the inside and place a square piece of thin *overhead transparency across the adhesive and window.
*You can find overhead transparency at most office supply stores.

Step 6
Fill box with goodies, gifts, or a special message.


Step 7

 Fold down sides with handles so the handles meet in the middle.

Step 8

 Fold over the side that does NOT have the round tab connected, making sure the handles slide into the slit. 
*This is the tricky part I told you about if you are assembling the "3D heart handled box". You have to gently push and bend the handle to fit through the slit. Be sure to work it through gently. 


Step 9

Fold the other side over and tuck the round tab into the slit on the other side. 


And your done! 


Exploding Box Tutorial

Here is a simple fun way to use the exploding box templates. For this demo, I used the scalloped exploding box to make a little album for a family member. 
I started off with the largest base piece and added photos and frames to the four outer squares on the side that will be on the inside of the box.


I then added photos and frames to the medium and small bases. After doing this, I applied adhesive to the middle of the underside of my medium and small bases and centered the medium over the large and the small over the medium.


I decided it needed a little more, so I added some die cuts to the other side of my bases as shown.
To close, simple fold up the sides and slide on the lid:


Endless possibilities for these boxes. Use embellishments of any kind. Even hide a gift in the middle! The funnest part about these boxes, is that when you pull of the lid, the EXPLODE! 
From this:


To this:

What can you come up with?


Related Posts with Thumbnails