

Base Box
These are the cut files/pieces.

TIP - This goes closest to the front.

BB 1- Fold at all perforated lines.
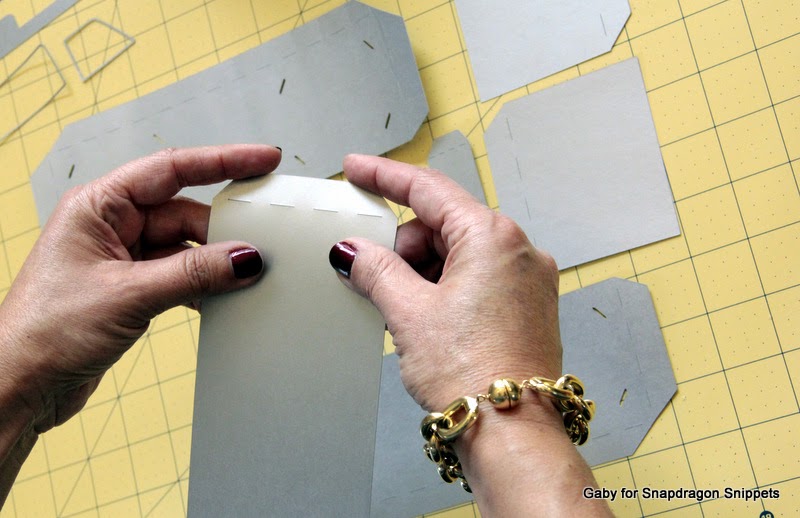

BB 2- Add adhesive of choice (I chose red tape because I will be placing candy inside box).


BB 3- Adhere side panel to base panel (without slanted cuts).

BB 4- Adhere other side panel to base panel. Note: I turned around to adhere and then turn back.


BB 5- Flip over and adhere red tape (or adhesive of choice) to all tabs.

BB 6- Time to adhere the small or end panels. I first adhered at bottom and applied pressure.


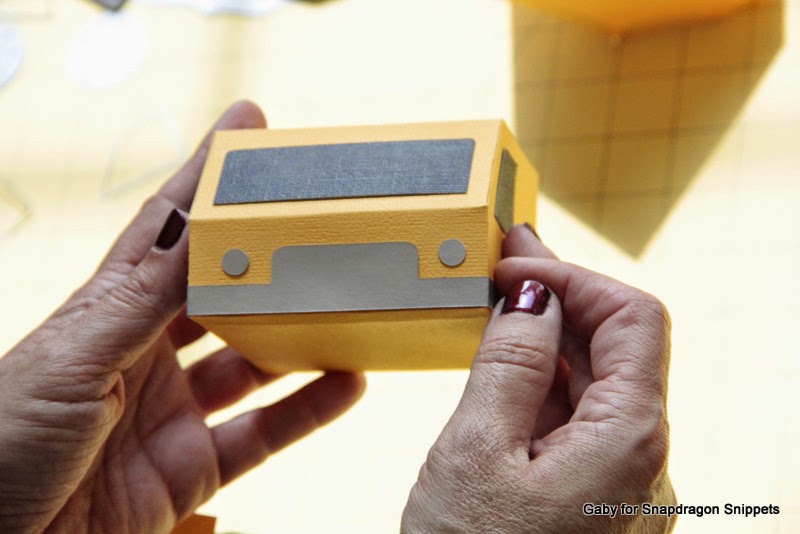
BB 7- Last step is to adhere the long tab at the top. Remember that the shortest distance to the edge, or to my right here is the front of the truck or where the Truck Cab will go.


Wheels
These are the cut files/pieces.

W 1- Fold at all perforated lines.


W 2- Adhere two of the long strips to each other applying pressure. You should end up with four.
Note: remember to keep all the tabs to one/same side (these will be used to adhere to the Base Box).


W 3- You can start adhering tab by tab...


After

Before
TIP: At this point you may sand any rough edges or ink.
W 4- Time to adhere the wheels to the Base Box.


Top view.

Truck Bed
These are the cut files/pieces.
The two on top are the added accessory for the two side panels that follow below.
The cut file to the left bottom of this picture is the bottom of the Truck's Bed.
The cut file to the right is the top of the Truck's Bed.


Down or against the panels.

Down or forward.

TB 2- Add adhesive and adhere side panels to top


TIP: I really like Scotch tacky adhesive. It gives you enough time to "play" but it dries quick.


TB 3- Add adhesive, fold or bend down and adhere.

Add adhesive.

Fold or bend down.

Adhere. Front or different view.

Apply light pressure.

TB 4- Applying the bottom of the Truck's Bed.


TB 5- Adhere Truck's bed to Base Box with Wheels.


Truck Cab
These are the cut files/pieces.

TC 1- Fold at all perforated lines.


TC 2- Apply adhesive and bring together the "wing" to the tabs.


This is the top of the Cab
TC 3- If you haven't folded at the perforated lines, do so now on the cut file without the "wings".


TC 4- Add accessories.
TC 5- Adhere to the Base Box


TIP: I first adhered the Truck's Bed and then lined up the Truck's Cab before adhering.


If you have any questions don't hesitate to leave me a comment.

Great job!! beautiful trucks!!!!
ReplyDeleteWow, that is a very thorough tutorial. So many wonderfully illustrative images. Now Kenzie will stop teasing me (maybe) about how LONG and thorough my tutorials tend to be. I tell her, as a quiltmaking teacher for 30 years, it is difficult for me to turn off the wish to instruct with absolutely step by step help. Perhaps you, too are a teacher at heart. Thanks for posting this wonderful help!
ReplyDeleteAwesome tutorial and you truck turned out fabulous!
ReplyDelete