Be featured here! What can you do with this flourish?

So, I did end up catching what my kiddos had of coarse. But I'm back. And back with your promised freebee from Facebook! Too many flourishes? Nah! You can never have too many flourishes. Oh, the possibilities! Here's the flourish freebee, now let me see what you do with it! Upload your creations to the Daley Designs facebook page, and I'll feature one lucky entry here on the blog! Now a deadline...hmmm...you have a week from tomorrow. I'll randomly pick one lucky person next Friday (the 17th) to showcase their creation here! Now get busy my friends!
I'm trying out a new "File Sharing" site. We'll see if this is less complicated and more user friendly than Metafile. Let me know if you have problems. (Click on the picture below to download file!)
Enjoy!

New Years Martini Tutorial

This is a fun little decoration for any party but I thought it might be fun for new years.  And it's alcohol free!  It can be made with or without the lime so technically there are two of the C pieces.

Optional:  If you want to add a tangy twist glue on the lime first.  Notice there is a cutout to simulate where the glass would be. 
Place C onto D and line up.


Place F onto E and line up.

Then slide CD onto EF.


Lie flat on the table to add the A ring and B disk.

Line up the groove as seen here to help in inserting the ring.

Slide A over the base and up to the slots on the upper part of the glass.

. 
Insert A ring onto one side first
Then slide the ring onto the other side.

Place B into the base while it is still flat.

Now separate the ribs.  I find it easier often to do two at a time.  Then split it from there as shown is these pictures.  Make sure you adjust the top and the bottom symultaniously.


Now separate out the last few ribs into the remaining slots.

Now you're ready to party!

Tree Snow Globe - Oops

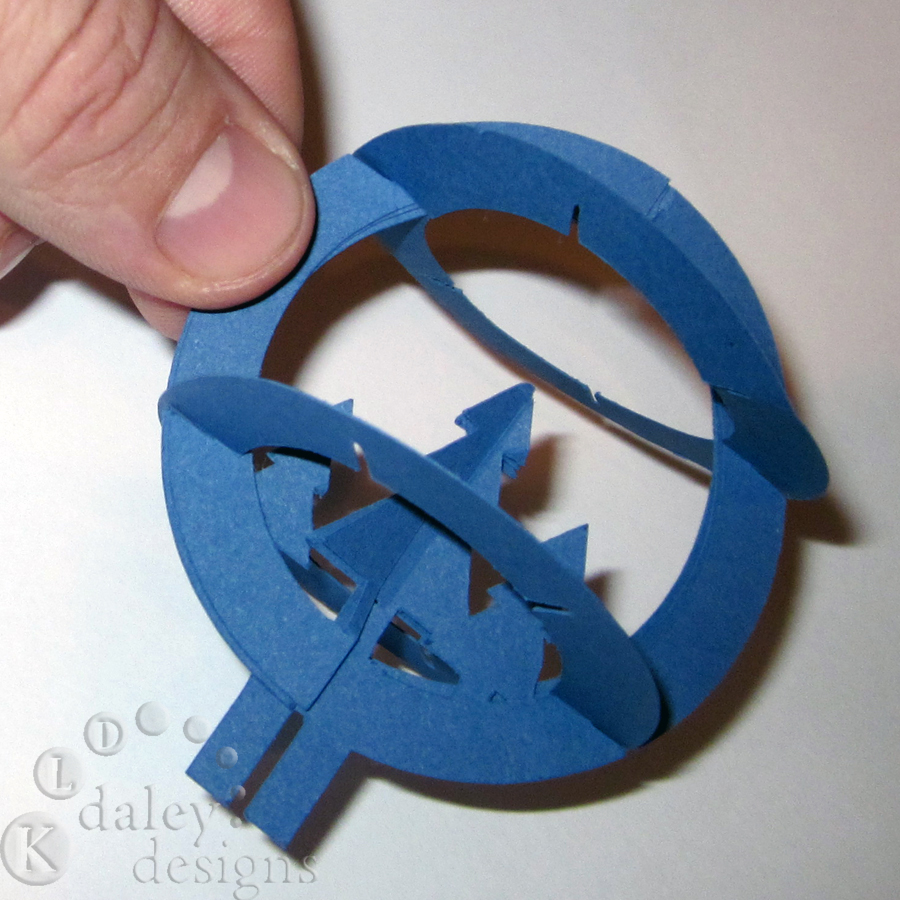
No good deed goes unpunished...  So I thought I'd be nice by making a two-fer (Two different tree snow globes for one) but I just ended up confusing you guys by not explaining that you can make it with just 3 trees 1 3D and two 2Ds.  Or the Forested one with a total of 1 3D and 6 2Ds.  So thats why many of you have extra pieces.  Below the Dark Blue only has the 3 trees the light blue is the 7 trees. So heres the tutorial.


Slip C onto D starting at the tree ignoring the top part of the snow globe.  Once the the trees are lined up.  Place the top of C into the top of D to line it up. 

Lay C and D flat together.  


 Then line up the tree in E with the joined CD tree.  Once together place the top of E inside of the combined CD top.


 Let CDE flat together. Bend slightly at the verticle axis so that it can go inside of ring A and B.

Place A on the top and B on the bottom (there identical so don't waste any time trying to tell them apart).  Enter all of the into one slot as seen above.   Once you get this set up you can start seperating them to their individual spots. 

Once separated the globe is done and you can set it into the base.


Here's a close up.  One other possible use.  We've placed ours on the tree as ornaments.  They look awesome.  Have fun let me know if you have any questions.
Related Posts with Thumbnails