To create a stitched design, you will need:
* your cardstock with the stitching template cut using your Silhouette
* a needle
* floss or thread
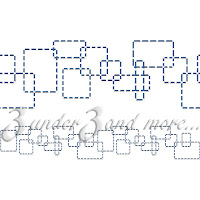
I previously, cut the "stitching templates - geometric border" design from my piece of cardstock. (stitching_templates_-_geometric_border_C00597_17986)
Step 1:
Figure out where you would like to start and push the needle from back to front.
Pull the thread through but keep hold of the tail.
Step 2:
Tape down or tie the end on the back so it doesn't pull through.
Step 3:
Now push the needle from front to back in the next hole. (Don't worry about any "hanging chads", they will just be pushed aside with the needle.)
Step 4:
Push the needle from back to front in the next hole.
Step 5:
Push the needle from front to back in the previous hole. (Hole you used in step 3)
Step 6:
Push needle from back to front in next empty hole.
Keep up this pattern of stitches until you have completed your stitching pattern.
And voila! You've created a little homemade touch to any card or LO!
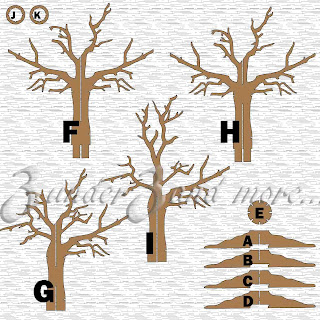
Oh, and check out how Starlight Scrapper's 3D tree turned out here. While browsing through her blog, I also found some other really fun creations from the Silhouette. She does some great work. Gotta love Cali's chubby series, and I love Samantha's "2 layer swirly halloween batbat " that Starlight Scrapper has used. Keep up the awsome projects. I'm loving them!
Anyways, hope the tutorial helps get you excited for the possibilities of the stitching templates! If you've overlooked them, here's the ones that are available in the store now:

Here's the newest one. Basic straight stiches. Easy to use anywhere. I've included a variety of stitch lengths so you don't have to adjust the holes yourself. The work is done for you. To make it fit a shorter length, just ungroup and delete any holes you don't want.
Enjoy!


