Showing posts with label party favor. Show all posts

3D pilgrim hat tutorial


This tutorial is for assembly of the 3D pilgrim hat box die cut that can be found on the Silhouette Online Store. 
These are the shapes that you will have in your file. I cut the lid, base and brim out of black cardstock. The belt around the lower part of the hat, I cut from a dark gray cardstock and the buckle was cut from goldenrod yellow.


First, all fold lines fold in toward the wrong side of the paper. Above is  about what your lid will look like when all folds fold in. I prefer to crease all folds before I start assembling.

I then applied a liquid adhesive to all the tabs. 

And then careful worked my way around the hexagon attaching the sides of the lid.

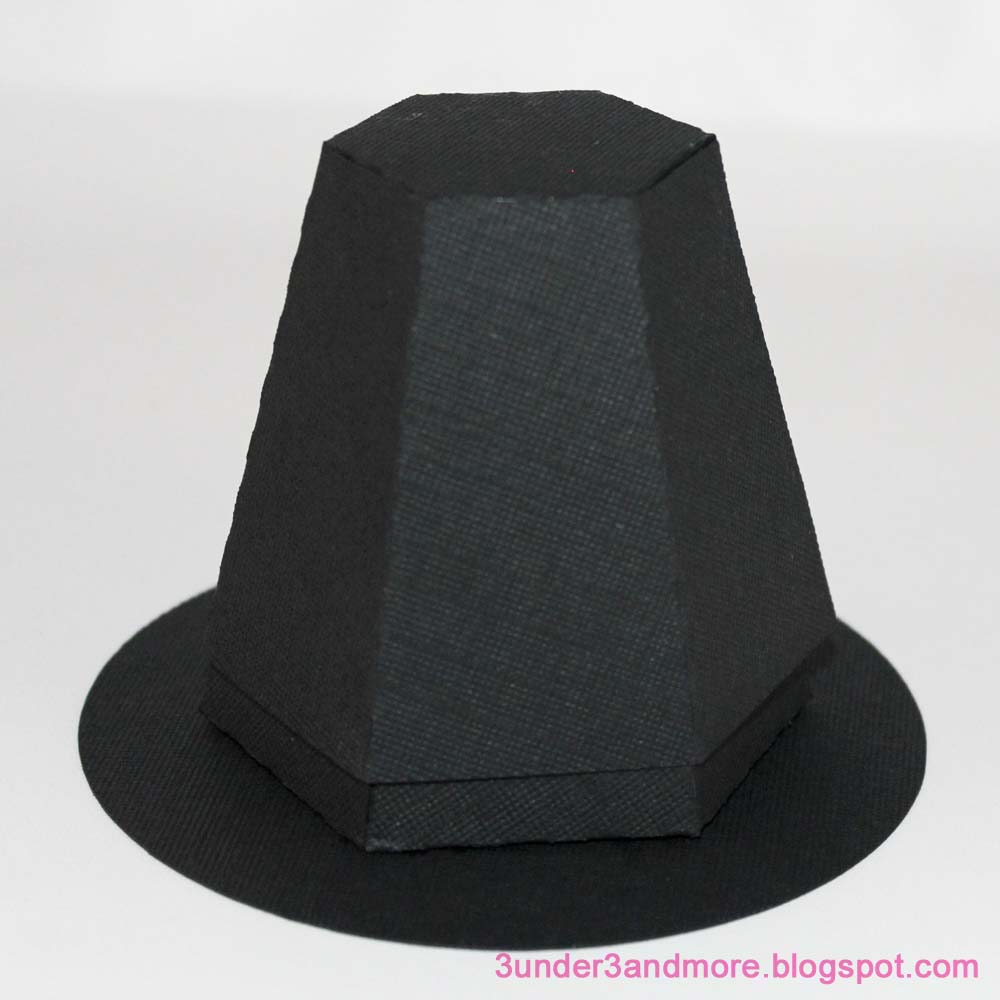
When finished, your lid should look like this.

Next, attach the tab on the base to the other end to form a hexagon as shown. All tabs should be bent inward.

I place the base inside the lid to help it keep it's form as I attach it to the brim.

Next, apply your adhesive to the tabs.

And carefully, center it on the brim. 

Press down gently on the top to be sure that  the base is sticking.

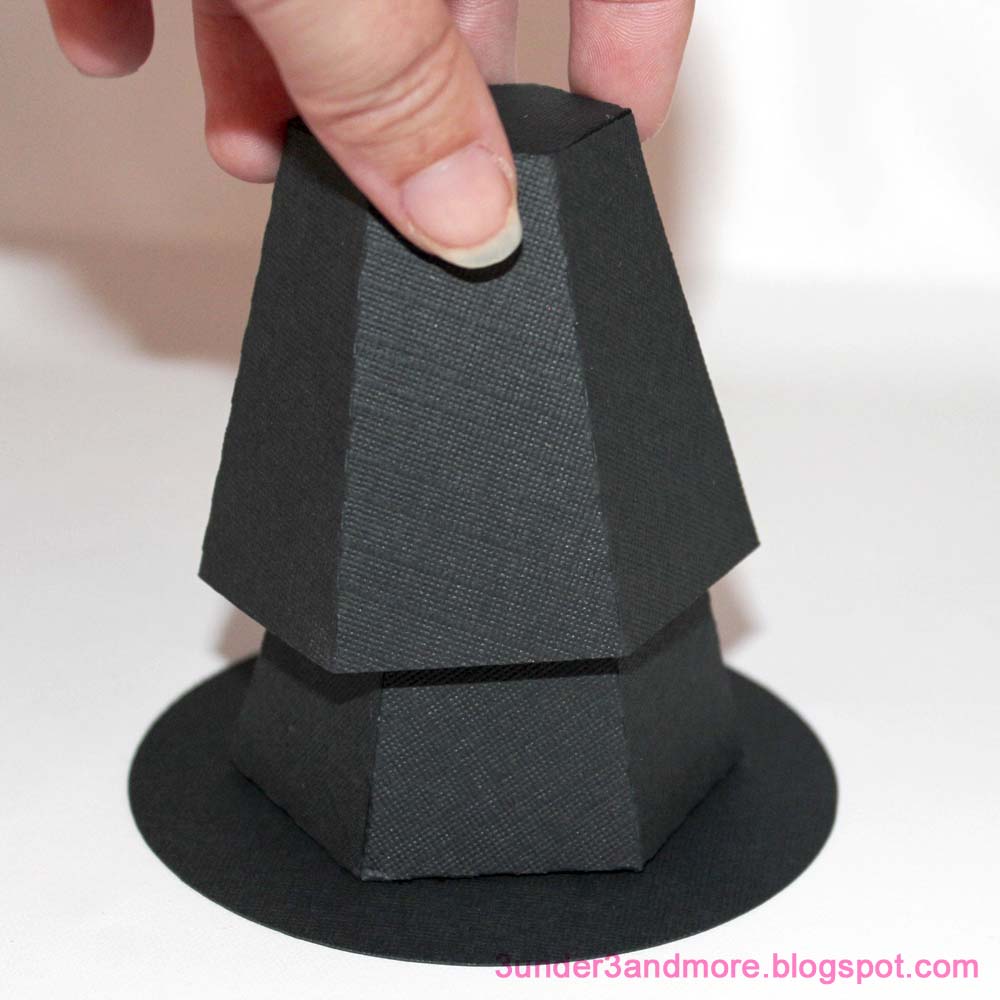
Carefully tug off the lid.
*Sometimes, I have to hold the base down with my fingernail on a corner while I tug on the top.  (If you notice the front left corner of my base in the photo has a slight crease at the bottom. This isn't noticable when your finished though.)

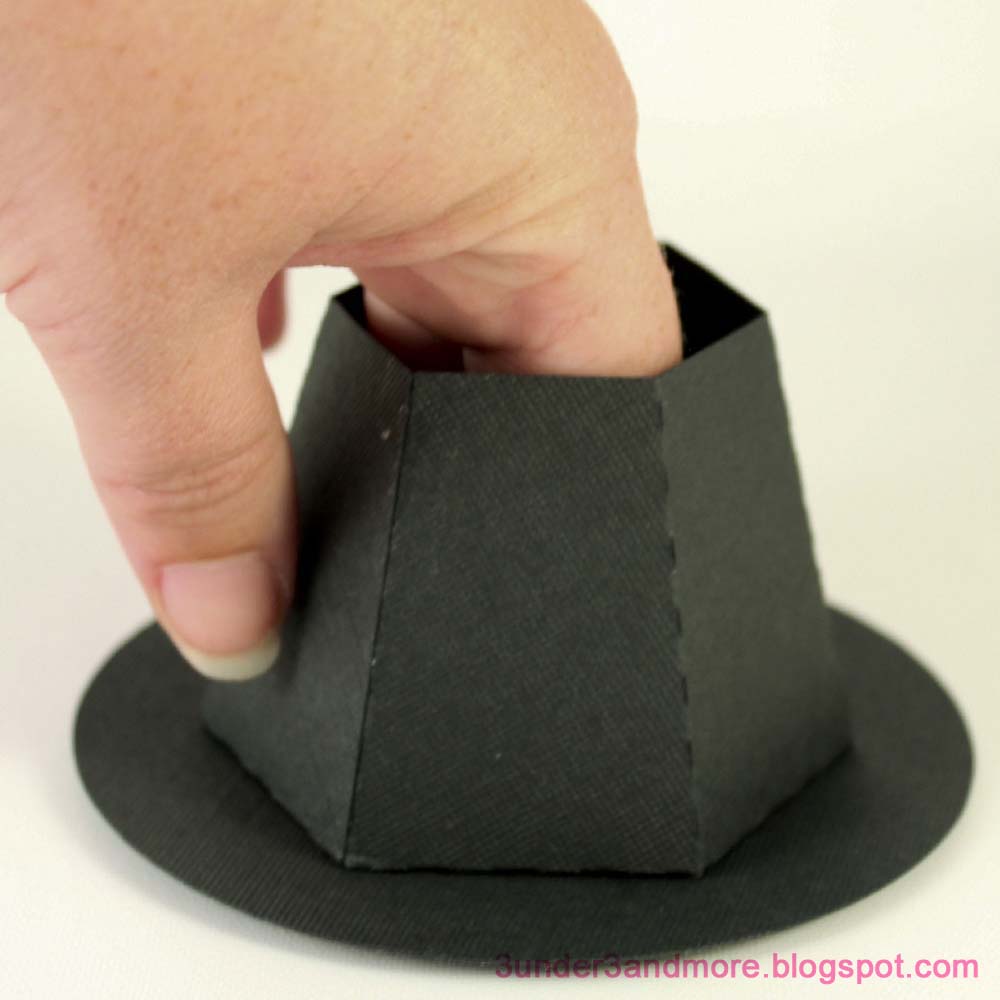
Reach your fingers in and press on the tabs to be sure they are secure to the brim.

Create another hexagon shape with the belt by glueing end to end.

Apply buckle to belt with a little adhesive.

Slip the belt over the lid and your finished!
Now fill with goodies and you have the perfect Thanksgiving party favor!

It's candy time with a little bit of egg!

Easter is in two days. Here's a quick gift tag I made for my candy dispenser I'm giving to friends. I'll also show you how I packaged the dispenser for giving away!
If you haven't already, go to the Silhouette Online store, and purchase this design I made a few weeks ago:

I am making 3 tags, so I cut 3 of the plain eggs and 3 of the patterned eggs. I brushed an ink pad across the edges of the plain eggs to give them some character. (I used Versa Color in 183 Cement on white cardstock if you were wondering.)

I added the patterned eggs I cut earlier from my blue cardstock.

Then punched holes in them to make tags. I had intended to added circles to my eggs before I cut them so my Cameo could do the work, but forgot. So I just went old school and used a hole punch.

 Since these are for the candy dispensers, I made sure to mention to my friends to break the paper band off that holds the dispenser closed. 

So all I did to keep the candy dispenser closed was cut a strip off of my scraps from the box and formed it into a ring that fit around my box. I decorated the band with another strip of the accent paper. Easy peasy! 

Then I took the lid off my box, closed the dispenser bucket, and slid the band over... 

...filled it with candy, (one package of large Robin Eggs, minus 4 eggs, fills a dispenser perfectly)...

...and added my egg tag!

Have a happy Easter everyone!


Milk Carton Party Favor or Neighbor Gift Box tutorial


This post may seem long, but really the steps are quite simple. I personally am a visual learner and so I use a lot of pictures. If you have any questions, you are welcome to leave a comment and I'll try to answer you as soon as I can.
These "Milk-carton" like boxes come in three different sizes. (Sm/M/Lg) This tutorial is the same for all three. 

After you have cut your box and removed it from your mat, the first step is to crease at all fold marks. 

Next, fold the top section pictured below towards the side that will be your outside.


You will be tucking that tab below the circles into the slit. I find it easiest to do this by bending it slightly as pictured below:


After you've slid the tab into the slot, it should look like this on the back (inside):

The purpose of the previous steps is to strengthen the area that you will be knotting the ribbon around and also to give contrast.

Next step is to glue the sides in a box shape as shown:

Once your sides are secure, fold the matching bottom flaps in:

And then secure the other two flaps together by placing the tabbed flap over the slotted flap and sliding the tab into the slot as shown:

The bottom should end up looking like this:

You box is now ready to fill with party favors, treats, or any kind of surpise!


After filling, thread your ribbon, twine, ric rac, string, etc. through the holes as shown and secure with knot or bow. 

And you're done!

3D Basket Tutorial

These fun little baskets are great for gifts and are pretty easy for the most part to assemble. There are a few tricks to assembly though, and I'll show them to you hear in this tutorial.
First of, cut your basket out with your Silhouette. I suggest a lightweight to mediumweight double sided cardstock with different patterns or colors on each side. (If you're new to my blog and don't know about the Silhouette, go to http://www.silhouetteamerica.com/.) There should be a total of two pieces that you'll need, the body of the basket and the handle.
1. Start off by folding over the basket rim. If you lay your basket body on the table as I have in the video, then the pattern that is face-up will be the main basket, and the pattern face-down, will be your rim.


2. While rim is folded over, fold at perpendicular perforated lines towards the inside of the basket.


3. Unfold and open the basket rim. We're now going to put adhesive on the inside of the rim so that once assembled, it will stay together. I just use a double stick adhisive tape runner for mine.

*add your adhesive to the areas shown circled in PINK. Be sure NOT to put adhesive in the areas circled in YELLOW. If you add adhesive to the areas circled in yellow, it will be difficult to add your baskets handle.  

4. there are two section of the rim, a short section and long section. Start off with the short section. Take the corresponding base section and line the top edge with the fold going down the center of the rim as shown:

5. Carefully fold the rim back down on top of the two sections completed.

 6. Now keep the two layers of the rim slightly open so you can slide the next section into place making the top of it hit the fold crease of the rim. The sides of the section should also line up with the perpendicular fold marks you made earlier. (Where it's been perforated.)

 7. Repeat step #6 for the last section and your basket should look like this:

 8. Now it's time to tuck the tabs under the rim. This can be a little tricky because of the adhesive we put on earlier. But once you get it in place, all you have to do is finger-press it together and it won't budge. Much easier than trying to push adhesive in their after.
 

 9. Last portion is inserting the basket's handle. Along the rim, their are narrow rectangular holes. Slide one tab of an end of the handle into the hole and gently wiggle the other side down into the whole. These tabs make it tight and a little difficult to get the handle in but keep it from sliding out once it's in.


 10. Repeat step #9 with the other end of the handle and voila, you're finished.

 Now fill plastic grass or paper shreds and add some candy! The perfect party favor or gift.

Don't just use for Easter though, it's great for baby showers, bridal showers, holiday gifts, birthday favors. The list goes on!


Related Posts with Thumbnails