Thank you card tips | Card box set

I am back as promised to share some tips on how I made my pretty flowers go from flat to fabulous!


This was flat:
The leaves:
First, I inked the leaves using distress ink, but you can use any chalk ink as well. Note that I only inked the edges so that I would not see the paper's white core. I did not want to change the color of the leaves. But you may.

Next I pierced tiny holes every 1/8" to add stitching.
Here I hand stitched using a needle and thread.
Below you can see how it looks by drawing a line with a pen following the pierced tiny holes.
Finally I adhered the leaves to the base using dimensional foam and "played/handled" with them or lifted the sides and/or edges with my fingers.
The purple flowers:
Below you see me using the "ball" of the inking tool's handle. This process worked best then using the special tool.  I just went over the center of the flower in a circular motion adding light pressure.
I don't have a picture but I finished the purple flowers by adding a "bling" to the center of each flower.

 The orange flowers:
First I inked them using distress ink.  I used a circular motion starting from the mat "into" the flowers.  This process helps to not leave visible ink marks.  You can see how the color changed by looking at the flower on the bottom right of this picture.
 Here again using the handle of my inking tool I was able to give them a "lift".
 I used regular glue to adhere the first two layers.  I then added dimensional foam to adhere the third or center layer to the flower.
 But I first added the "bling" to the centers.
The white flower:
I used a little bit of distress ink.
 I cut strips of dimensional foam to put all the layers together.

I finished them all by adding them to the card using yet more dimensional foam.

And I ended up making them into a set and creating a box to fit them all in and give them as a gift.


Files Used:
  "Bloom!" flowers 5x7 greeting card
You can find this file as a single file on the Silhouette online store HERE
or as part of a garden set HERE at the SVGAttic site.
Scalloped Edge 3D Box

Thanks for stopping by!
Tomorrow we are starting our month long Anything goes contest! Come back to get all details and enter for a chance at some awesome prizes!

Bloom Thanks Card

This is Gaby here today to share a card.
I just loved this colorful design so much that I had to create something with it.


Close up of the flowers and bling...
 Instead of using the included Bloom cut file, I opted to use a stamp.


Come back on Wednesday to take a look at how I take this already pretty design/cut file from
 flat to VavaBoom!!
File used: "bloom!" flowers 5x7 greeting card
You can find this file as a single file on the Silhouette online store HERE
or as part of a garden set HERE at the SVGAttic site.

Scheduled events for this week:
Wednesday - tutorial/tips on card above
Thursday - we kick off our month of May Anything goes contest -- you don't want to miss the awesome prizes!!

See you on Wednesday!
Gaby


Happy Mother´s Day!

Hi! Ruthie here! This is my first post with an inspirational project and I was thinking in what to do; since Mother's Day is around the corner I thought in making a banner and give it to the lady (now my friend) who runs the daycare where my little Andrea goes. I'm sure it will looks beautiful there. For this banner I used the Banners - Round which comes in 5 different types, I only used one plane type; for the letters the Font Cooper Black and the for the flowers is the 3D Flat Daisy. I love how it looks! You can find all the files at Silhouette online store.


Here is a close up of the  3D Flat Daisy, beautiful!!!! and very easy to assemble! 


And thinking in what to give my girlfriend along with the banner, nothing better than a gift card. I made this gift card holder using the Purse Gift Card Holder file. 


Here is the  Purse Gift Card Holder open. As you can see this can be use for any occasion. 


I hope you like it and gives you a lots of inspiration in making your future projects!

See you next time.


Files used:


Soccer is for Girls!!!

Hello! Diane here to share this great layout I made to share with a few Snapdragon Snippets SVG files. It's soccer time here in Kentucky and my little 4 year old granddaughter loves it so I decided to use these files to create layouts for her book.  I used the files Flame Soccer Ball #16979, Soccer Frame #18565, and Soccer Borders file#10495 and all can be found in the Silhouette Store.  I just downloaded the fonts Sports World and Blazed to make the title. I also added a little stickles for the bling.  Be sure to check out these and many other fantastic files from Snapdragon Snippets.
Materials Used in this project:
Machine Used-Silhouette Cameo
Files-Snapdragon Snippets-Flame Soccer Ball#16979, Soccer Frame #18565, Soccer Borders#10495
Pattern Paper-Soccer Balls from Michaels
Cardstock-Michaels
Fonts-Sports World and Blazed-Dafont.com
Stickles-Ranger
 

SDS Home Tweet Home

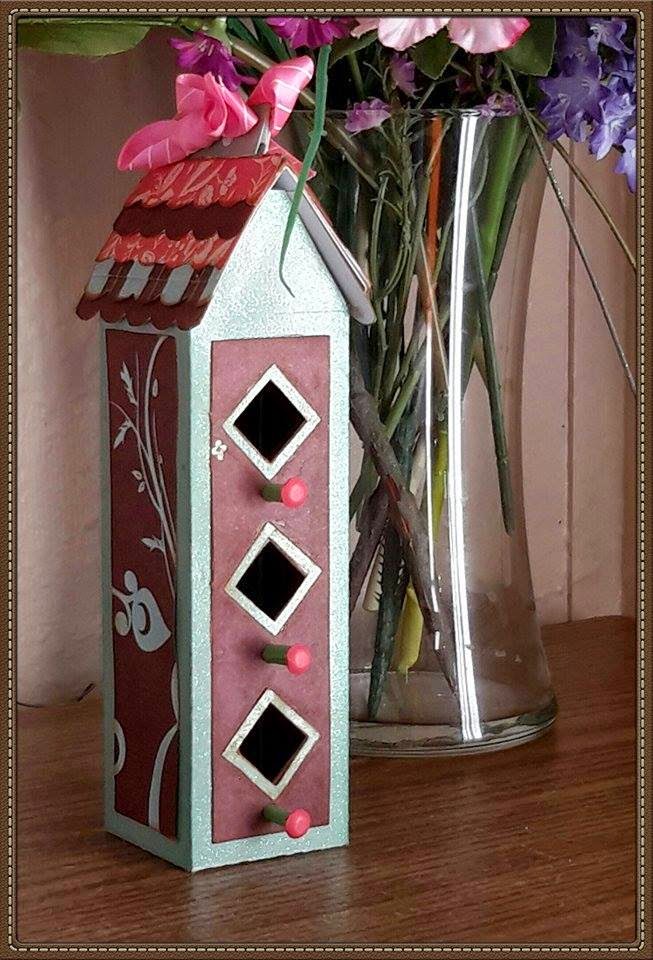
Hi this is Lissa from So Many Crafts, So littte Time.  I introduced myself last week as a new designer and would like to show you my first project. I fell in love with these bird houses as soon as I saw them, they were so tweet!  I really enjoyed putting them together.  Knowing I had to use some old stash, I used DCWV Garden Party stack and it turned out very nice, new or old it sure worked here!  There are 3 houses in a set so keep your eye out for some more!


You can find this file at the SVG Attic, and see all 3 now!

Thanks for taking a peek!


Split Wall Art

Hi everyone, Esther here!

I wanted to share a couple of projects I made with Snapdragon Snippets Wall Art files. These files are so fun and I love the way you can insert a name, or anything else you want, in between the split.

I decided I wanted to make some wall art for my grandchildren's rooms.

My granddaughter is totally into princesses (what girl isn't) right now, so for her I chose to use split castle wall art which you can find here and cut it out with black vinyl. I decided to put it on a white shadow box so that I could put some fun background paper behind it. I used Magical Forest in Ever After by Pebbles. Then I cut her name out at 3/4" with pink vinyl using the Storybook Cricut cartridge.


My grandson is playing Little League and just loving every minute of it. For his wall art I chose to use Split Baseball wall art which you can purchase here and cut it out with white vinyl. I picked a black shadowbox and his background paper is Zach from Love You More by Pebbles. His name was cut out in yellow vinyl at 3/4" using the Plantin Schoolbook Cricut cartridge.


Thanks for stopping by to take a peek!!


Cake box surprise box tutorial

 Hello, this is Ruthie and today I will show you how to assemble the Cake Box Surprise. This is how the file will look at your computer screen.
I started with the lid. Fold all the tabs and identify the parts of the lid. On the white part add adhesive and fold up on each one.
It will look like this. Add glue to the side tabs and adhere them to make the box.
 Add glue to the tabs to adhere square piece on the top. See the picture below.

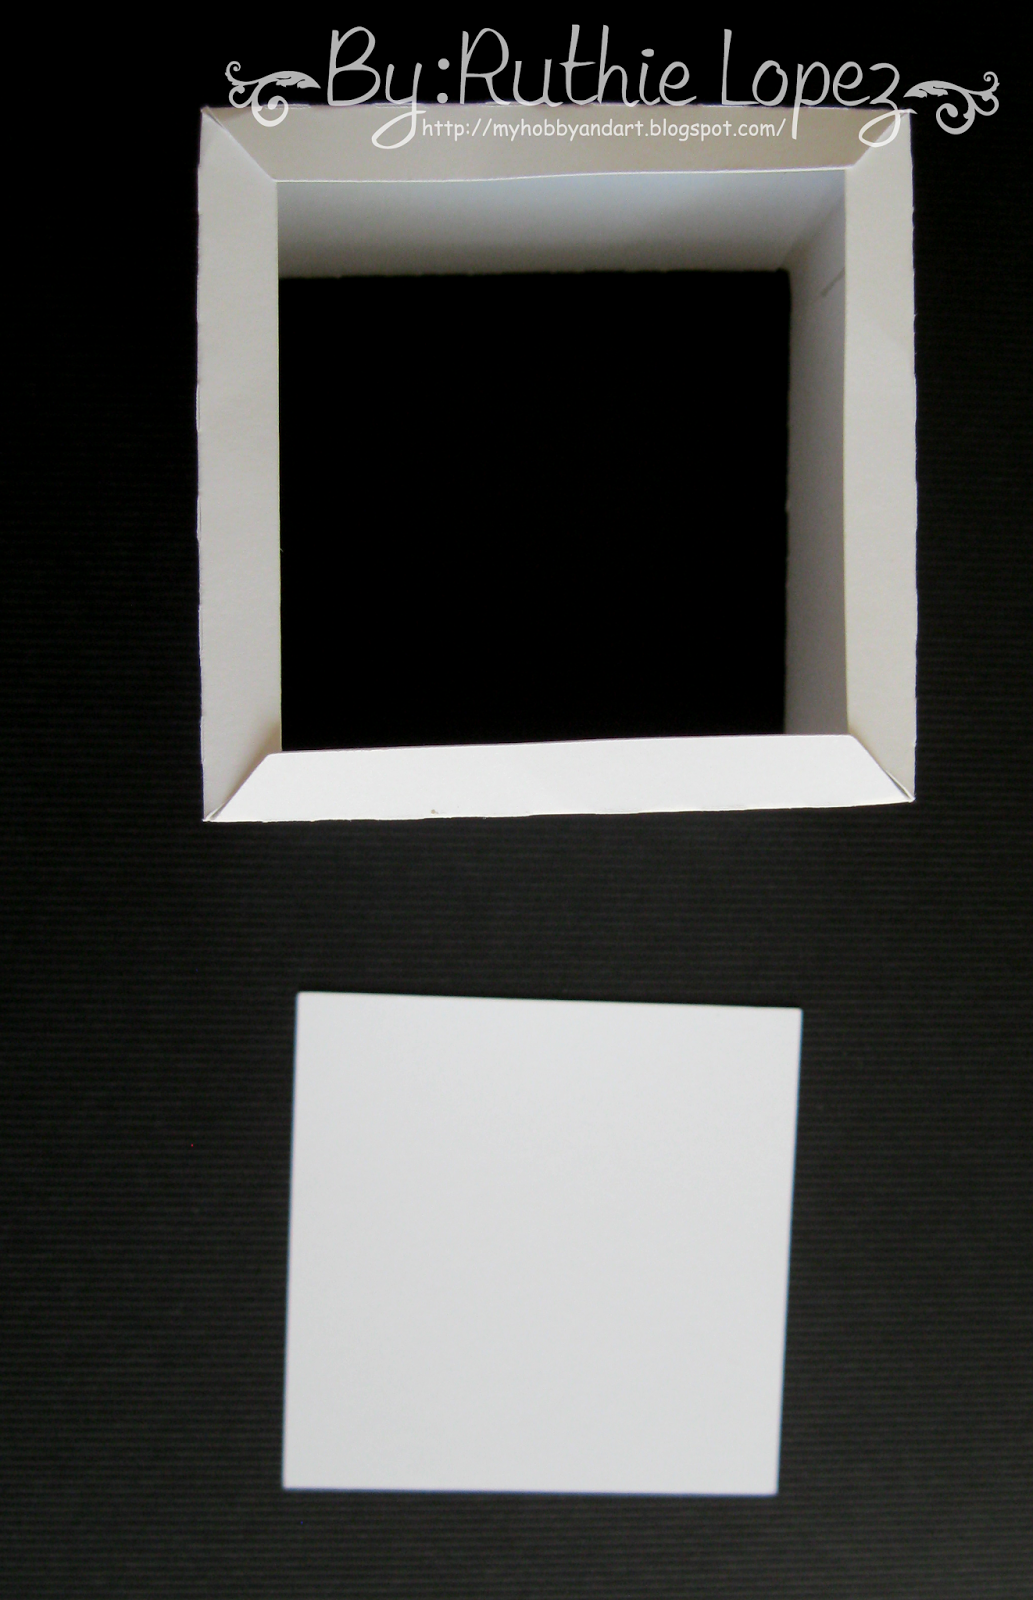
Add adhesive to this part (with the square in the center) and put it inside to cover the tabs. Your are going to make the same step with the base. 
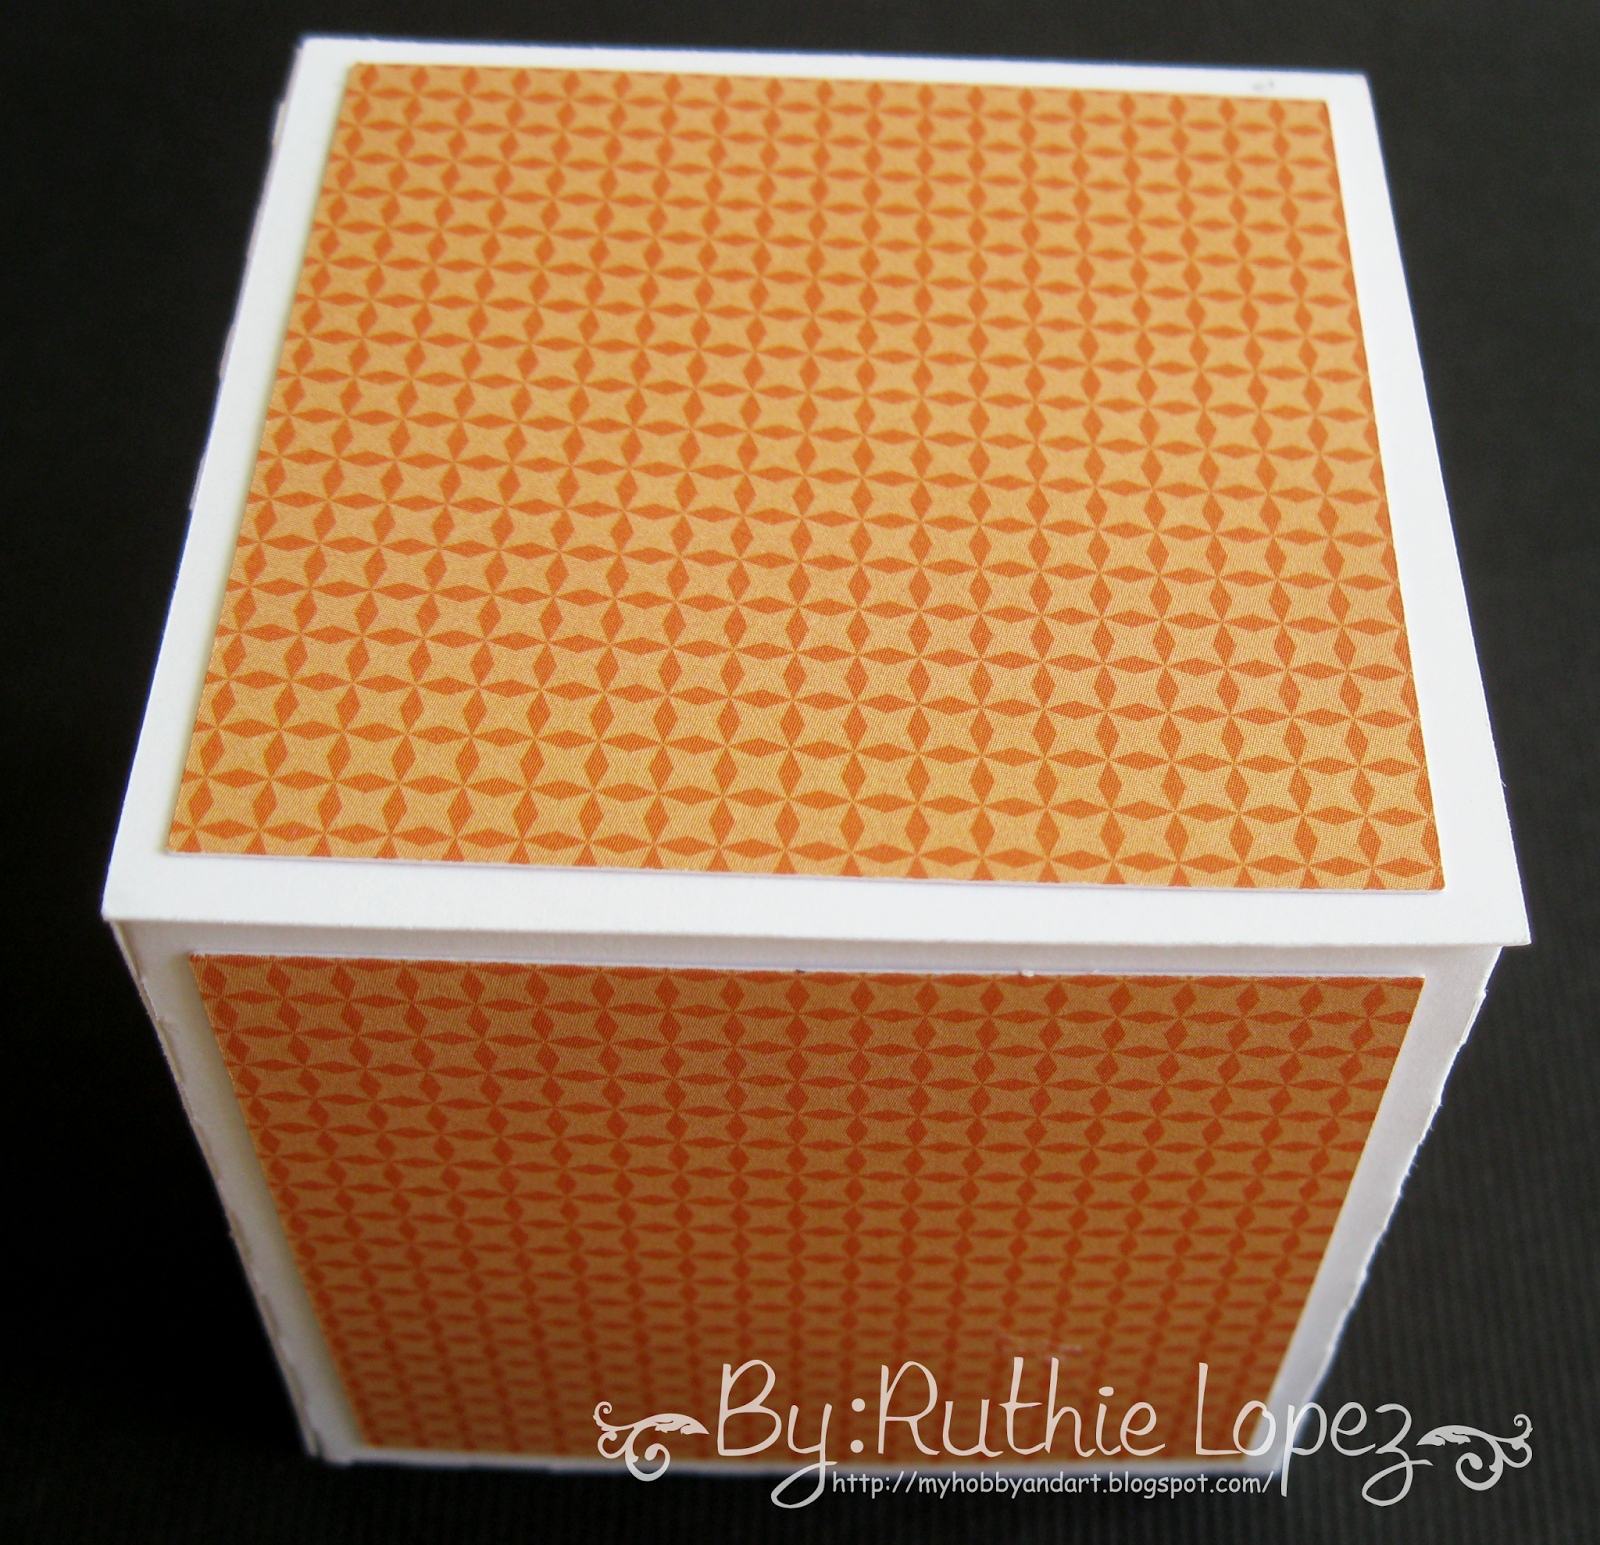
The adhere the pattern paper to the lid. Cover the 5 sides of the box.

Insert the tabs of the square pieces and glue down the tabs. 
Do the same on each side to make the box. And add adhesive to the bottom part and fold it up.
Add glue to all the tabs and put this two pieces together. Make sure that the folded part goes up. On the bottom you will have 4 tabs, which makes the bottom part of the box. In this step you can glue the bottom pieces; the square one and the one with the square in the center. It´s going to be a little tricky but with a little patience you can make it.
Add glue to the tabs and secure them. 
And here it is! 
A lovely box to put a cake pop, lollipop, rose, or anything you like inside as a surprise!  I regret not having a cake pop when I finished the tutorial.
The post seems a little bit long but I wanted to cover the most of the steps and make it easy for you.
Related Posts with Thumbnails