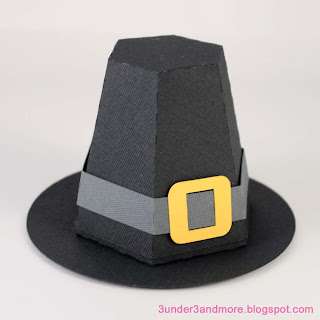
This tutorial is for assembly of the 3D pilgrim hat box die cut that can be found on the Silhouette Online Store.
 |
| First, all fold lines fold in toward the wrong side of the paper. Above is about what your lid will look like when all folds fold in. I prefer to crease all folds before I start assembling. |
 |
| I then applied a liquid adhesive to all the tabs. |
 |
| And then careful worked my way around the hexagon attaching the sides of the lid. |
 |
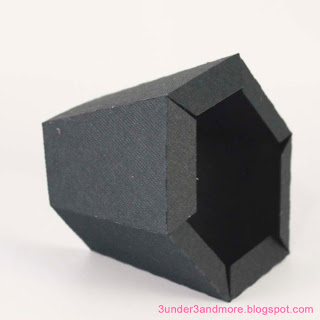
| When finished, your lid should look like this. |
 |
| Next, attach the tab on the base to the other end to form a hexagon as shown. All tabs should be bent inward. |
 |
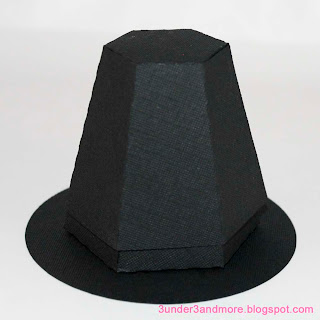
| I place the base inside the lid to help it keep it's form as I attach it to the brim. |
 |
| Next, apply your adhesive to the tabs. |
 |
| And carefully, center it on the brim. |
 |
| Press down gently on the top to be sure that the base is sticking. |
 |
| Reach your fingers in and press on the tabs to be sure they are secure to the brim. |
 |
| Create another hexagon shape with the belt by glueing end to end. |
 |
| Apply buckle to belt with a little adhesive. |
 |
| Slip the belt over the lid and your finished! Now fill with goodies and you have the perfect Thanksgiving party favor! |


This is so cute! I can't wait for it to show up in the store!
ReplyDeleteGreat design. Got this one done right on time!
ReplyDeleteI would love to purchase this cutting file as an SVG. I do not own a Silhouette, though, but I have Sure Cuts A Lot. Will the file work?
ReplyDeleteTIA
Hi Tia, I'm sorry, but the pilgrim hat is exclusively for the Silhouette right now. It may be available as an .svg in the future.
ReplyDelete