Showing posts with label silhouette studio. Show all posts

Out of this world! 3D Rocket Box Tutorial


A few weeks ago, we released a cute little rocket box in the Silhouette Online Store. There were a few glitches, but it is now back! I'd love to take credit for it, but it was mostly all Mike's creation. I just love it! I guess to make a cool boy box, it really does take a guy.

For the tutorial, we asked the amazing Sarah Traub to once again work her magic in video tutorials. She did not disappoint. I especially love the little clip at the end! You'll know what I mean when you see it.
So without further adieu, here is Sarah's Tutorial of the 3D Rocket Box from Snapdragon Snippets!

3D ROCKET BOX TUTORIAL 
by Sarah Traub

The digital die cut for this file can be found in the Silhouette Online Store in .studio form
or at www.snapdragonsnippets.com in .svg form

3D manger tutorial

Silhouette has the wrong file for this box, so if you are in desperate need of this, please send me an email titled "3D Manger" to snapdragonsnippets(at)gmail(.dot)com and I will send you back the correct file.

*One note I meant to type out. The first photo shows that one "x" is shorter than the other. When laid out flat like in the second photo, the larger "x" connects to the middle piece. This is allows the shorter "x" to tuck up inside the other in later steps.

3D Candy Corn Box Tutorial

This is the tutorial for assembling the 3D Candy Corn box by Snapdragon Snippets. You can find the .studio file in the Silhouette Online Store.


When you receive your file, we will have 4 strips and 4 candy corn shapes. All four candy corn shapes are slightly different sizes. Stack all 4 together, with the smallest on top going down to the largest. The two smallest are the two that we will use first. We will be adhering the strips to these two shapes.
I've labeled the first two pieces we will using as "main top & main base".  (the smallest of the candy corns)
The two thick strips are for the base and the two thin strips are for the lid.

 To assemble the base, adhere one end tab of the thick strip to the other thick strip. Both strips are symmetrical so it is not important which end.
Glue thick strips together.

I like to curl my paper when going around curves to prevent creases. There are three spots once the strips are attached to each other that have smaller tabs. Each of these spots are a "corner" of the candy corn. These are the three spots that I curled.
Curl paper like a ribbon where the smaller tabs appear.

Take the SMALLEST candy corn shape. Find the 6 smaller tabs of the strip that does not have end-tabs. In the photo below, it would be the thick strip similar to the strip on the far left.
Arrow is pointing to 6 smaller strips we will be talking about.

 Adhere the top point of the SMALLEST candy corn shape to the middle of the 6 small tabs discussed earlier. Be sure to line the sides up as close as possible! Otherwise, the strips may not fit around the candy corn just right.
Glue small tabs to top point of smallest candy corn.
 Continue around, adhering group of tabs along the way. Smaller tabs should line up around corner.
Glue left side of tabs.

Continue around candy corn.

Adhere end tab and rest of smaller tabs to finish  base.
Repeat above steps for the lid.

Once finished assembling, you can add the optional extra candy corn shapes. The smaller leftover candy corn shape is for the base while the largest is for the lid. Simply apply adhesive on outside of box as shown for both base and lid. Press the accents on centered. This will give your box the overhang and make opening a little easier.
Apply adhesive to ouside of bottom and top of box if you'd like to use the accents. Other wise, skip to end. 


Largest candy corn shapes give an overhang on top and bottom and make opening a bit easier!

Finally, apply white, orange and yellow shapes and if you'd like to jazz it up a bit more, I've included ric-rac pieces to go around the lid.
Apply finishing touches, and your done!


3D Paper Witch's Boot Tutorial

This is the first of the witches boot series by Snapdragon Snippets that will be available or already available through Silhouette America's online store. For more info about how the Silhouette die cutting machine works and where to get it, see www.silhouetteamerica.com

To see all digital die cut designs available by Snapdragon Snippets, click HERE!

This tutorial shows some quick tips to make assembling a little easier. 
To start, I usually like to prep each piece. By this, I mean fold all tabs in the correct directions, and finger curl the paper to fit around curves a little better. 
Here's how I curl the back piece that fits around the heel. You can look at the final photo to get an idea of the curvature. In the photo below, the end with the tab is on the left side. 

And here is how to curve the bottom of the boot:

For the heel section, fold all tabs in as shown below:

For the top section of the boot, I laced up with ribbon. 

After lacing and tying the ribbon to keep it out of the way, I attached the tongue of the boot to the back as shown and curled the ends up:

Next, starting at the toe, slowly work your way up the boot. 
*Be sure to take your time in attaching the sole and the top. If you go to fast, the sole may end up not lining up in the end. Also, if you do to much of one side at once, it will be difficult to reach your fingers inside the boot to adhere the rest of the sides. 


Once the sole of the boot is attached, move on to the back. 

Assemble the heel as shown:

And adhere to the bottom of the boot. I like to line up the back edge of the heel and the boot to make a nice flowing curve. 

And that's it! There are so many ways to dress this up! I'd love to see what you come up with!

What is it?! Giveaways!

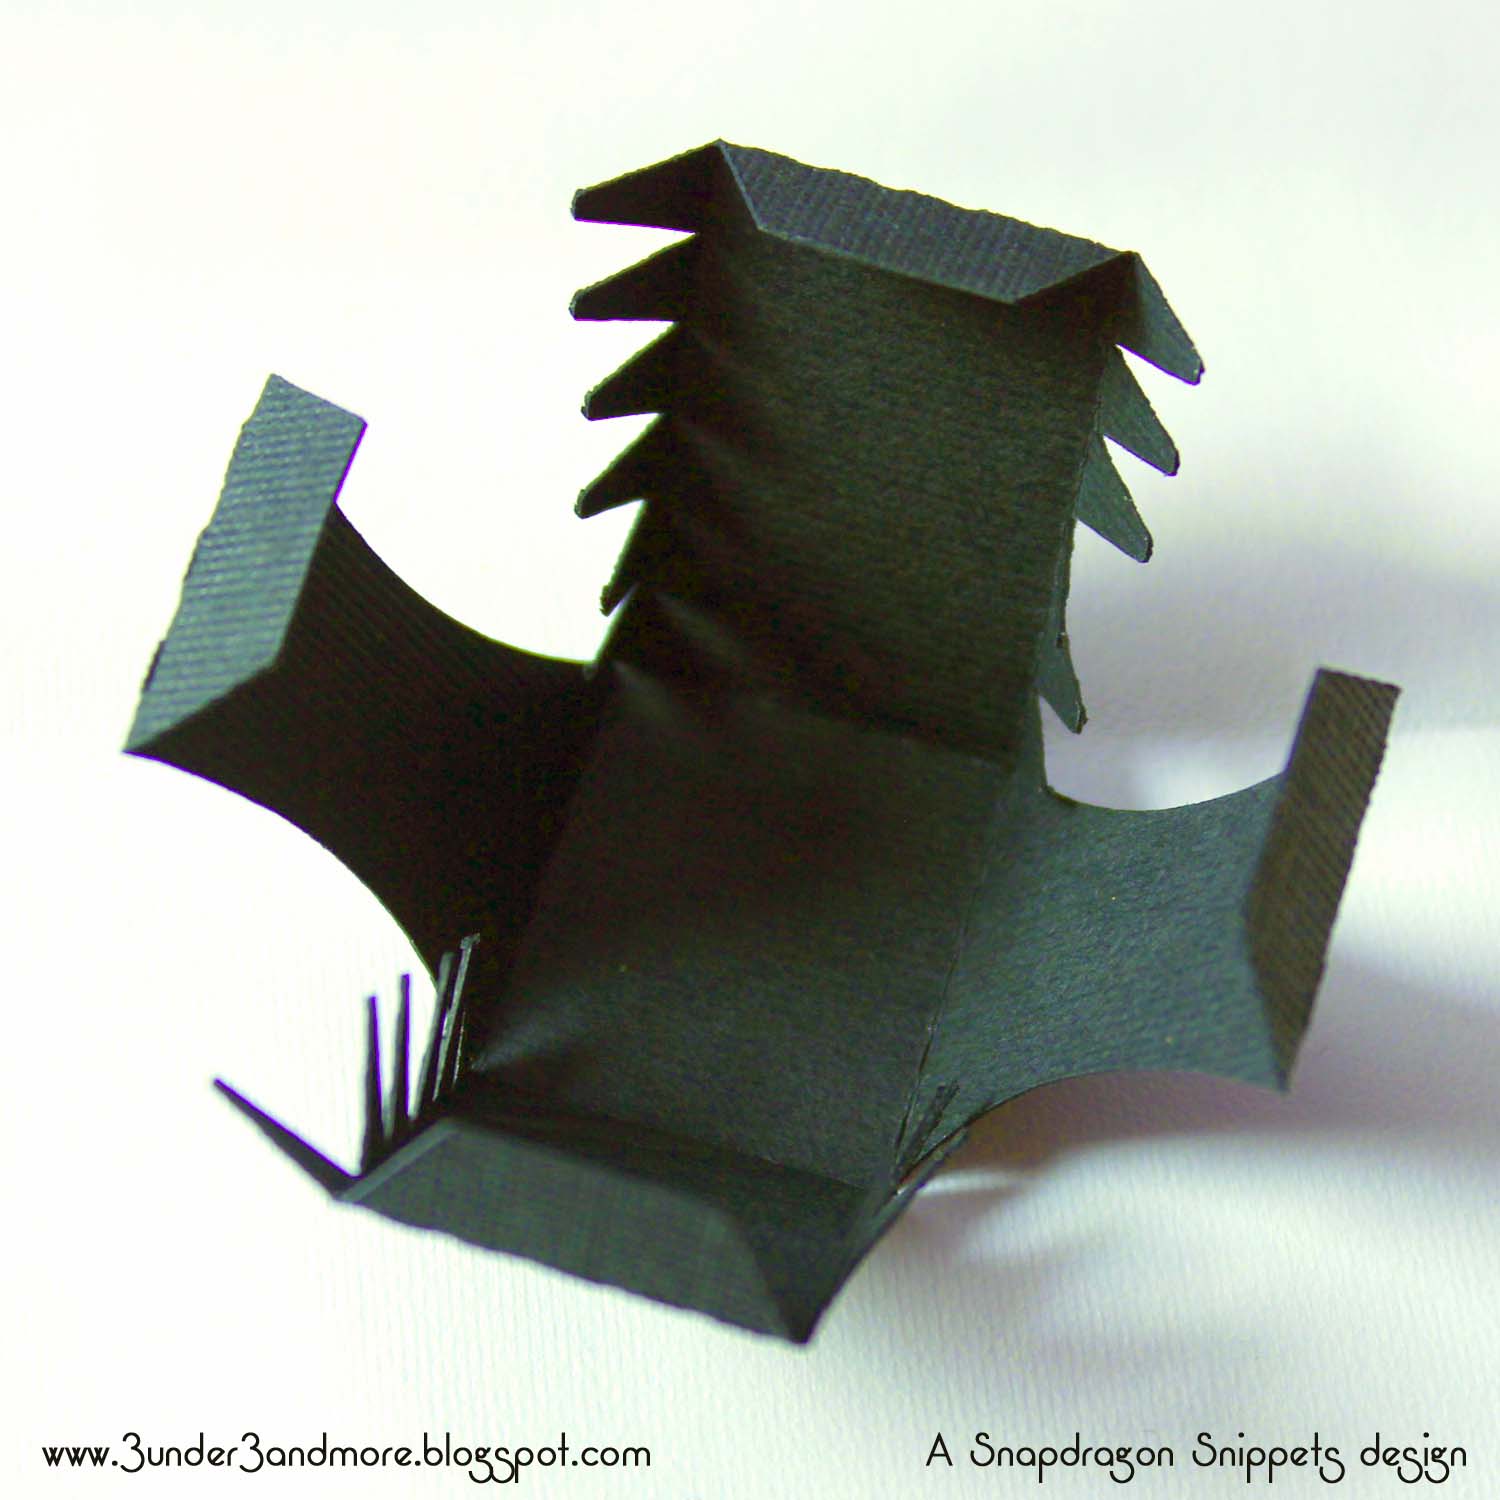
I've been busy, busy, busy! And what have I been busy doing?! Why working on 3D fun for my Silhouette friends! I have a little preview of a piece of one of the designs I've been working on. You are either going to get it right away or have no clue, I think. This one might be very tricky to guess. So here it is...

Can you guess what this little black piece goes to?

How many of you like quilting, sewing or would like to learn? My wonderful quilting mother has started up a new blog called 


On this blog, she will be posting tips and techniques of quilting. She also will have posts thrown in every once in awhile of creative ways to use my designs. Don't I have the best Mom! 

And to get things going, right now she has 3 quilt giveaways going on! Help her grow her numbers and travel over to her site! Leave a comment and join her site and you could be entered in 2 different quilt giveaways! Get a friend to join and you'll be entered into a third giveaway!

Just click HERE to enter.

Now for those who leave a comment and let her know that I sent you, I'll provide you with a free design! 

So hurry over! Contest ends October 20th.
Related Posts with Thumbnails