This is the first of the witches boot series by Snapdragon Snippets that will be available or already available through Silhouette America's online store. For more info about how the Silhouette die cutting machine works and where to get it, see
www.silhouetteamerica.com.
To see all digital die cut designs available by Snapdragon Snippets, click
HERE!
This tutorial shows some quick tips to make assembling a little easier.
To start, I usually like to prep each piece. By this, I mean fold all tabs in the correct directions, and finger curl the paper to fit around curves a little better.
Here's how I curl the back piece that fits around the heel. You can look at the final photo to get an idea of the curvature. In the photo below, the end with the tab is on the left side.
And here is how to curve the bottom of the boot:
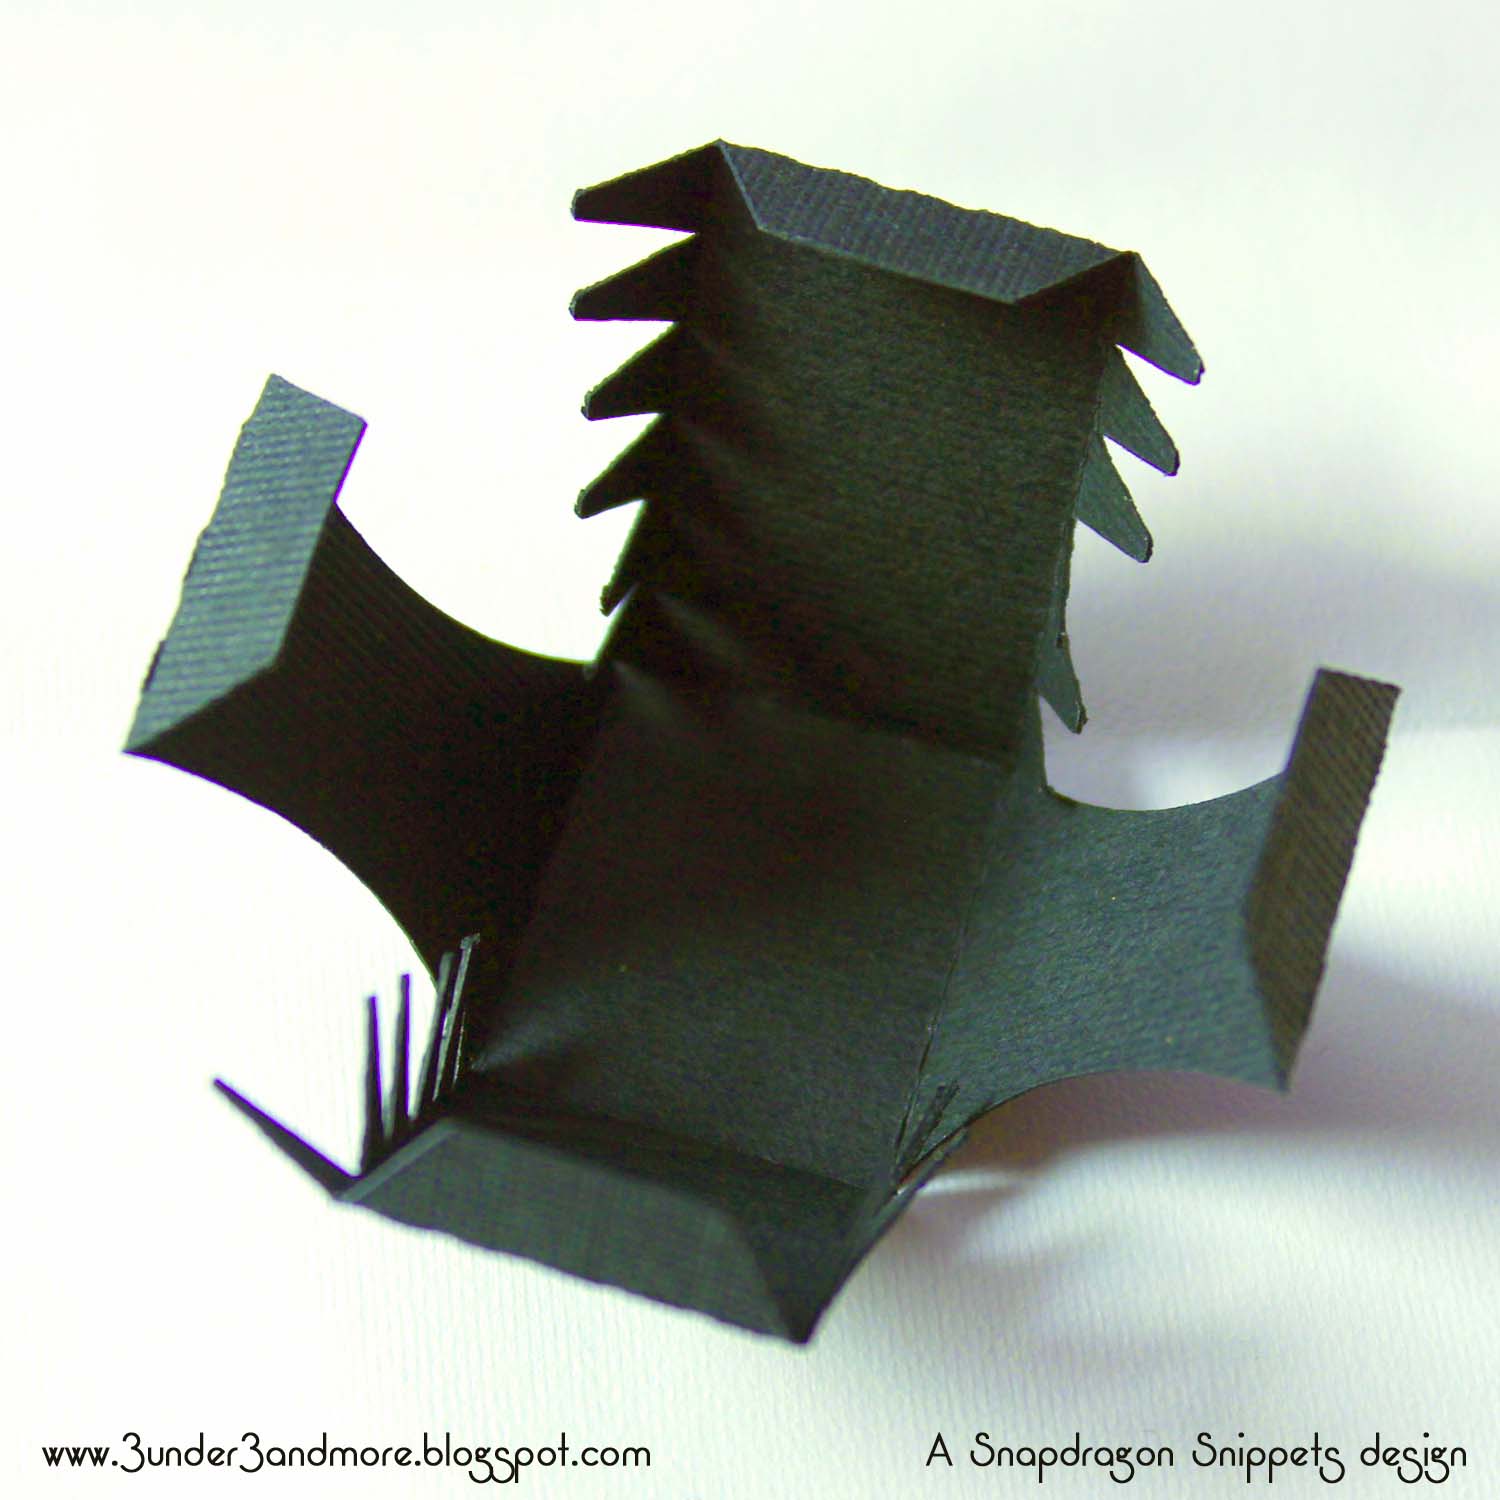
For the heel section, fold all tabs in as shown below:
For the top section of the boot, I laced up with ribbon.
After lacing and tying the ribbon to keep it out of the way, I attached the tongue of the boot to the back as shown and curled the ends up:
Next, starting at the toe, slowly work your way up the boot.
*Be sure to take your time in attaching the sole and the top. If you go to fast, the sole may end up not lining up in the end. Also, if you do to much of one side at once, it will be difficult to reach your fingers inside the boot to adhere the rest of the sides.
Once the sole of the boot is attached, move on to the back.
Assemble the heel as shown:
And adhere to the bottom of the boot. I like to line up the back edge of the heel and the boot to make a nice flowing curve.
And that's it! There are so many ways to dress this up! I'd love to see what you come up with!