Showing posts with label gift box. Show all posts

3D Present Boxes tutorial

Construction for each size box will be the same.

1. Identify and cut the shapes. 

2. These are the shapes needed for the BOX.

3. Fold the "coffin" shaped SIDES shapes 
with inward folds on all perforations.

4. Join ends with tab 
(shaped ends will be at opposite ends
from the joint).

5. Fold shorter side sections with all inward folds.
Join tab end to center section of previous
side assembly.

This is how the assembly should look at this point.

6. Fold one "shaped" side and two tab sides 
upward to form a box,
then glue and attach the tabs to the
adjacent box side edges.

7. Apply glue to the inside bottom "liner" piece . . .

. . . then insert into the bottom of the assembly and secure.

This is how the assembly should look at this point.

8. Attach the tabs of the remaining two side "seams".
Apply adhesive to the inner surfaces of the end "liner squares".

9. Fold each side "liner" into the box completely
until it "snaps" into place against the side and
lower assembly edges.

This is how the box base should look.

10. Construct the LID section in a similar fashion,
joining sections to form a center panel, 
then joining the side sections,
folding sides upward and joining tabs to form rim
with reinforcing inner rectangle,
then folding inner sections to the inside of the lid.

11. Fold and attach the "cross" ribbon shape to the lid.

12. Place the lid onto the base.
Attach the side ribbon strips so that they
align with the lid ribbon shape ends.

13. prepare the box. Shape the loop pieces by
"curling" over thumb or fingers.

This is how the loops should look after shaping.

14. Fold side loops over, align and attach end
"rectangle" tabs.

15. Overlap and join end loop tab to end tab
of center loop shape.

16. Overlap and join end tabs of final side loop,
with long end "rectangle" tab extended and folded as shown.

17. Slip the center end tab into place and glue.

18. Bring first loop tab and second tabs together
as shown and glue.

This is how completed bow should appear.
with extending tabs for right and left.

19. Apply glue to tabs, position and align
over "cross" ribbon on lid.

This is how finished lid should appear.


Here is the assembled box with lid in place.


3D alphabet tutorial by Sarah Traub

Hello all! One more quick post. 

I realized that I posted about the great video tutorial by Sarah Traub on our FB page but forgot to post it on the blog too. So for those who have not seen it...check it out on Youtube. Sarah does a great job of walking you through building the letters for "FALL". This will give you the basic idea for the rest of the alphabet
and hopefully answer many of your questions. 
As she points out in the video, there is one mistake in the letter "A". There is a piece that needs to be reversed. So, please keep an eye and ear out for that. Without further adieu...Sarah Traub!


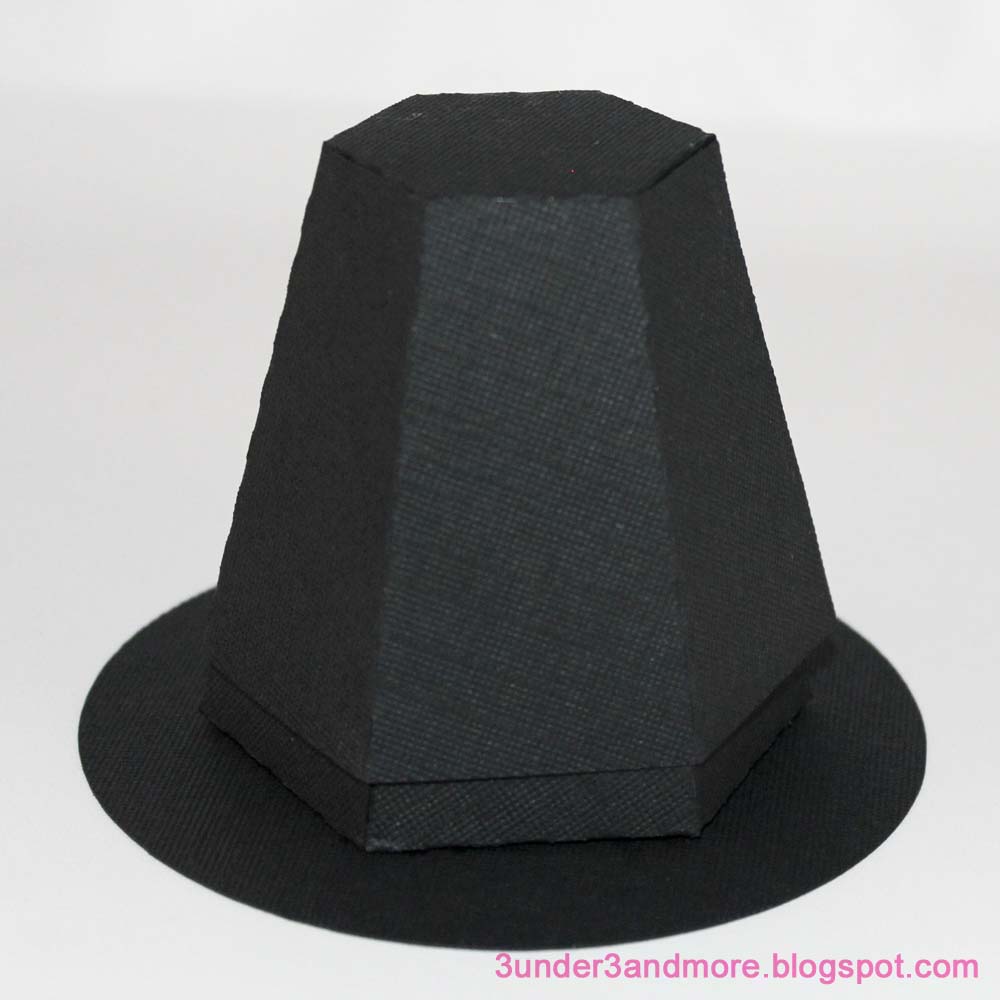
3D pilgrim hat tutorial


This tutorial is for assembly of the 3D pilgrim hat box die cut that can be found on the Silhouette Online Store. 
These are the shapes that you will have in your file. I cut the lid, base and brim out of black cardstock. The belt around the lower part of the hat, I cut from a dark gray cardstock and the buckle was cut from goldenrod yellow.


First, all fold lines fold in toward the wrong side of the paper. Above is  about what your lid will look like when all folds fold in. I prefer to crease all folds before I start assembling.

I then applied a liquid adhesive to all the tabs. 

And then careful worked my way around the hexagon attaching the sides of the lid.

When finished, your lid should look like this.

Next, attach the tab on the base to the other end to form a hexagon as shown. All tabs should be bent inward.

I place the base inside the lid to help it keep it's form as I attach it to the brim.

Next, apply your adhesive to the tabs.

And carefully, center it on the brim. 

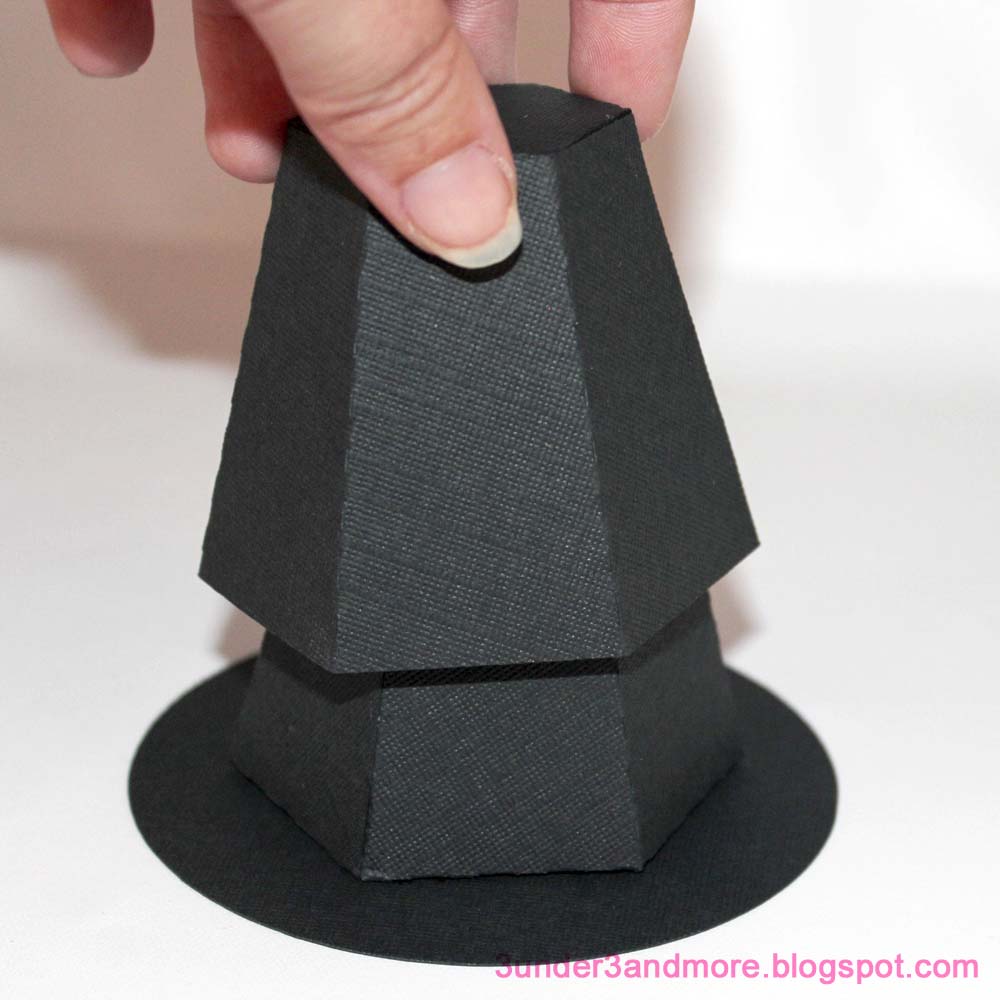
Press down gently on the top to be sure that  the base is sticking.

Carefully tug off the lid.
*Sometimes, I have to hold the base down with my fingernail on a corner while I tug on the top.  (If you notice the front left corner of my base in the photo has a slight crease at the bottom. This isn't noticable when your finished though.)

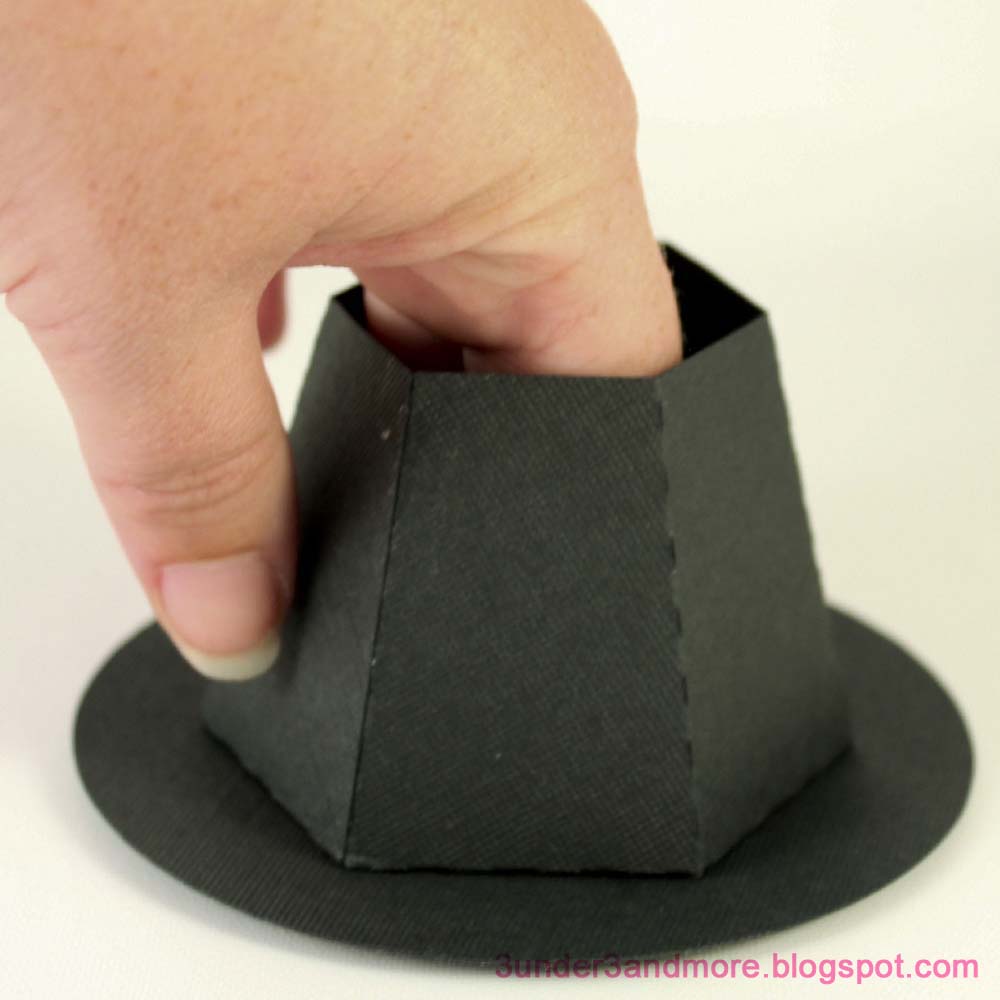
Reach your fingers in and press on the tabs to be sure they are secure to the brim.

Create another hexagon shape with the belt by glueing end to end.

Apply buckle to belt with a little adhesive.

Slip the belt over the lid and your finished!
Now fill with goodies and you have the perfect Thanksgiving party favor!

Milk Carton Party Favor or Neighbor Gift Box tutorial


This post may seem long, but really the steps are quite simple. I personally am a visual learner and so I use a lot of pictures. If you have any questions, you are welcome to leave a comment and I'll try to answer you as soon as I can.
These "Milk-carton" like boxes come in three different sizes. (Sm/M/Lg) This tutorial is the same for all three. 

After you have cut your box and removed it from your mat, the first step is to crease at all fold marks. 

Next, fold the top section pictured below towards the side that will be your outside.


You will be tucking that tab below the circles into the slit. I find it easiest to do this by bending it slightly as pictured below:


After you've slid the tab into the slot, it should look like this on the back (inside):

The purpose of the previous steps is to strengthen the area that you will be knotting the ribbon around and also to give contrast.

Next step is to glue the sides in a box shape as shown:

Once your sides are secure, fold the matching bottom flaps in:

And then secure the other two flaps together by placing the tabbed flap over the slotted flap and sliding the tab into the slot as shown:

The bottom should end up looking like this:

You box is now ready to fill with party favors, treats, or any kind of surpise!


After filling, thread your ribbon, twine, ric rac, string, etc. through the holes as shown and secure with knot or bow. 

And you're done!
Related Posts with Thumbnails