This tutorial is for assembly of the 3D pilgrim hat box die cut that can be found on the Silhouette Online Store.
 |
| These are the shapes that you will have in your file. I cut the lid, base and brim out of black cardstock. The belt around the lower part of the hat, I cut from a dark gray cardstock and the buckle was cut from goldenrod yellow. |
 |
| First, all fold lines fold in toward the wrong side of the paper. Above is about what your lid will look like when all folds fold in. I prefer to crease all folds before I start assembling. |
 |
| I then applied a liquid adhesive to all the tabs. |
 |
| And then careful worked my way around the hexagon attaching the sides of the lid. |
 |
| When finished, your lid should look like this. |
 |
| Next, attach the tab on the base to the other end to form a hexagon as shown. All tabs should be bent inward. |
 |
| I place the base inside the lid to help it keep it's form as I attach it to the brim. |
 |
| Next, apply your adhesive to the tabs. |
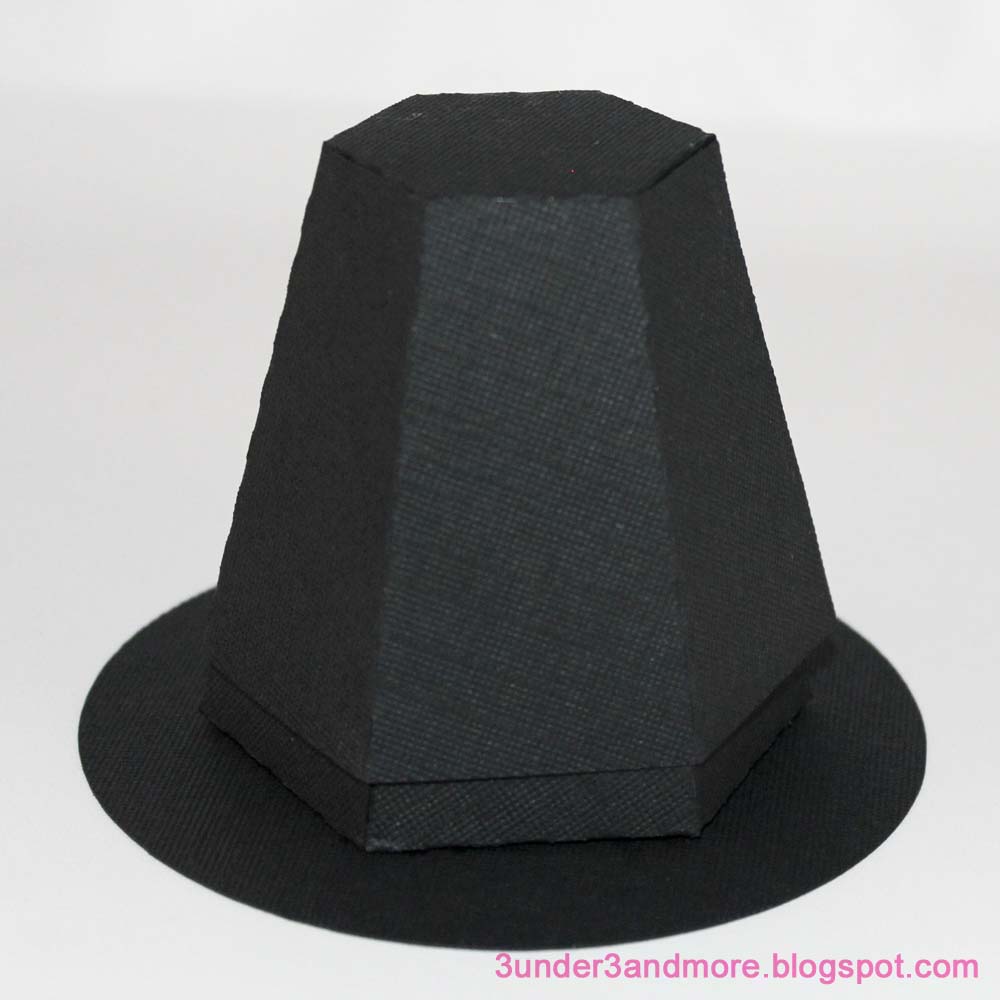 |
| And carefully, center it on the brim. |
 |
| Press down gently on the top to be sure that the base is sticking. |
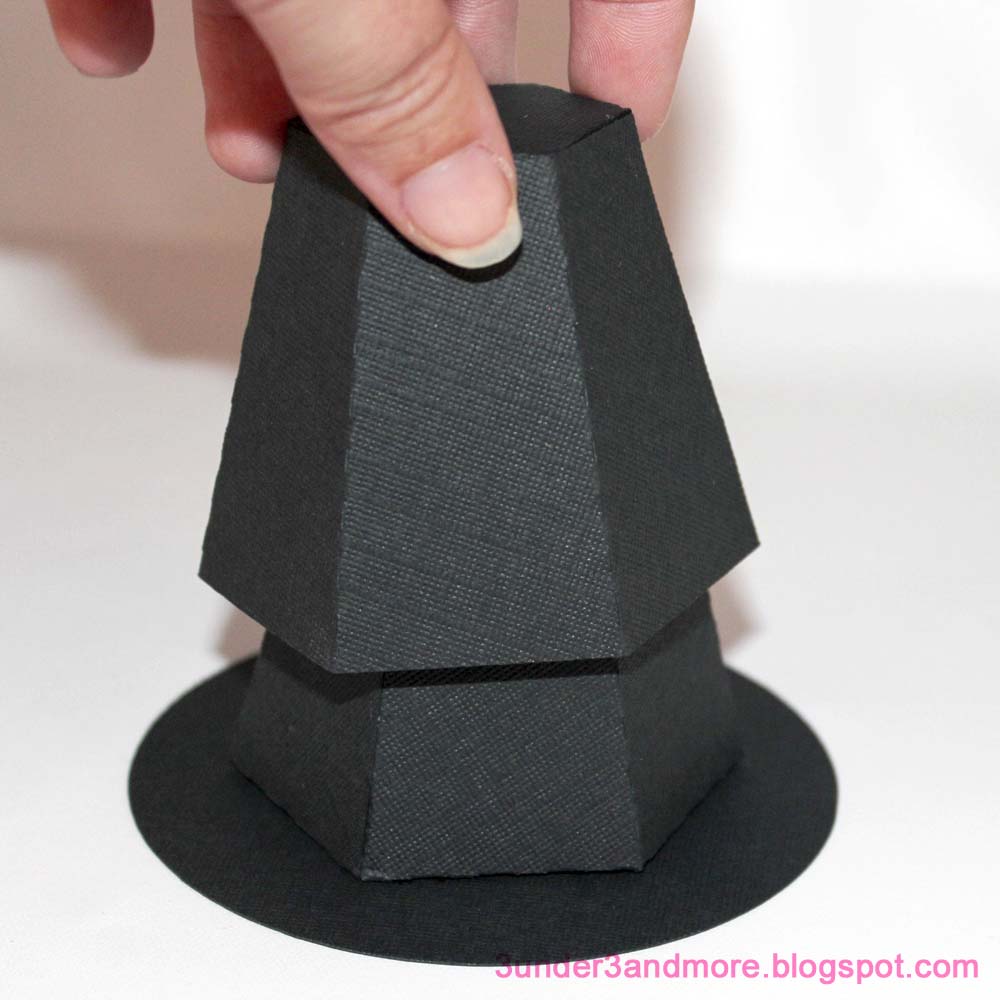 |
| Carefully tug off the lid. *Sometimes, I have to hold the base down with my fingernail on a corner while I tug on the top. (If you notice the front left corner of my base in the photo has a slight crease at the bottom. This isn't noticable when your finished though.) |
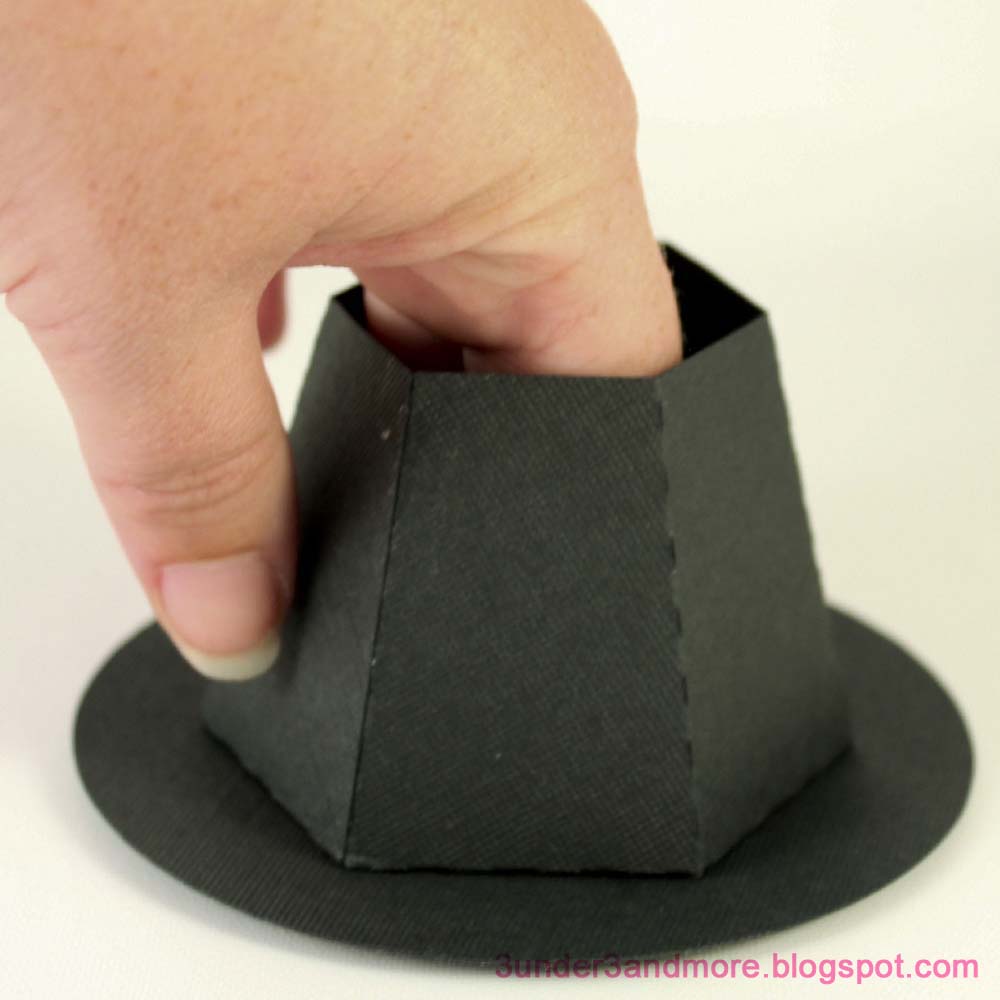 |
| Reach your fingers in and press on the tabs to be sure they are secure to the brim. |
 |
| Create another hexagon shape with the belt by glueing end to end. |
 |
| Apply buckle to belt with a little adhesive. |
 |
| Slip the belt over the lid and your finished! Now fill with goodies and you have the perfect Thanksgiving party favor! |