Tutorial: Midnight Witch Hat Box

This tutorial is for assembly of the Midnight Witch Hat box die cut that is part of the Halloween Soiree kit at SVG Attic and also pattern #33779 in the Silhouette Online Store. 

These are the shapes that you will have in your file. I cut the lid and accent piece for the brim out of purple cardstock. The base part of the box is cut from patterned orange cardstock.  The brim and the accent pieces for the lid are cut from black and purple patterned cardstock.

First, all fold lines fold in toward the wrong side of the paper. Above is about what your base will look like when all folds fold in. I prefer to crease all folds before I start assembling.

I then applied liquid adhesive to the side tab. 

Next, attach the tab on the base to the other end to form a hexagon as shown. All bottom tabs should be bent inward.

I also folded all the score lines inward on the lid.

Add liquid adhesive to the tab on the side

and attach it to the other side, forming a conical hexagon.

Next apply liquid glue to the back of your accent piece.

Attach them to the lid, lining up the open cut shapes at the bottom. 

Glue the rest of the accent pieces on in the same way and the finished lid should look like this.

I place the base inside the lid to help it keep it's form as I attach it to the brim.

Next, apply your adhesive to the tabs.

And carefully, center it on the brim. 

Remove the lid, and press down the tabs in the center to the base circle.

Apply glue to the wrong side of the accent circle

and apply it to the brim.

Here is what your hat looks like completely assembled.

Next, add whatever embellishments you want!  Have fun decorating it!

This is what it looks like filled opened with treats inside :)

I hope you have a wonderfully crafty day!
Beth
Beth's Beauties

The "A" box for Andrea

Hello crafting friends! Happy Friday!!! Ruthie here!! Today I come with a very cute project despite the crafting muse was out on vacation. I was thinking on what to do for your inspiration while I was surfing on the SnapDragon Snippet store and then I saw this box and came out at my mind my daughter's name Andrea. So, I decided to make this cute "A" box.


It is very easy to assemble, this is one of the reason of what I love of SnapDragon Snippet files. I looked for a Shabby Chick pattern paper, added some butterflies, pearls and here it is!!


As you can see the box is very neat and looks perfect in every angle. I already have this beautiful box at work but I may do the rest of her name and put the boxes in her room for decoration.

Hope you like it!!
See you next time!!!
File used: "A" box 


Camping Themed Layouts

What a wonderful Back to School Blog Hop this past weekend! I had so much fun making my creations for that hop and sharing them with all our Snapdragon Snippet fans. You are wonderful!!!

Now it is time to move on and show you what I've been up to when I wasn't creating from the Back to School Blog Hop. We went camping in Nebraska in July and we had such a great time. I took lots and lots and lots of pictures and now comes the time to scrap them. Thanks to all the wonderful Snapdragon Snippet camping/summer/bbq cutting files, I was able to put together this double page layout to keep some of my captured memories for years to come.


I used... 
3 trees - Design ID #45226
compass - Design ID #45227

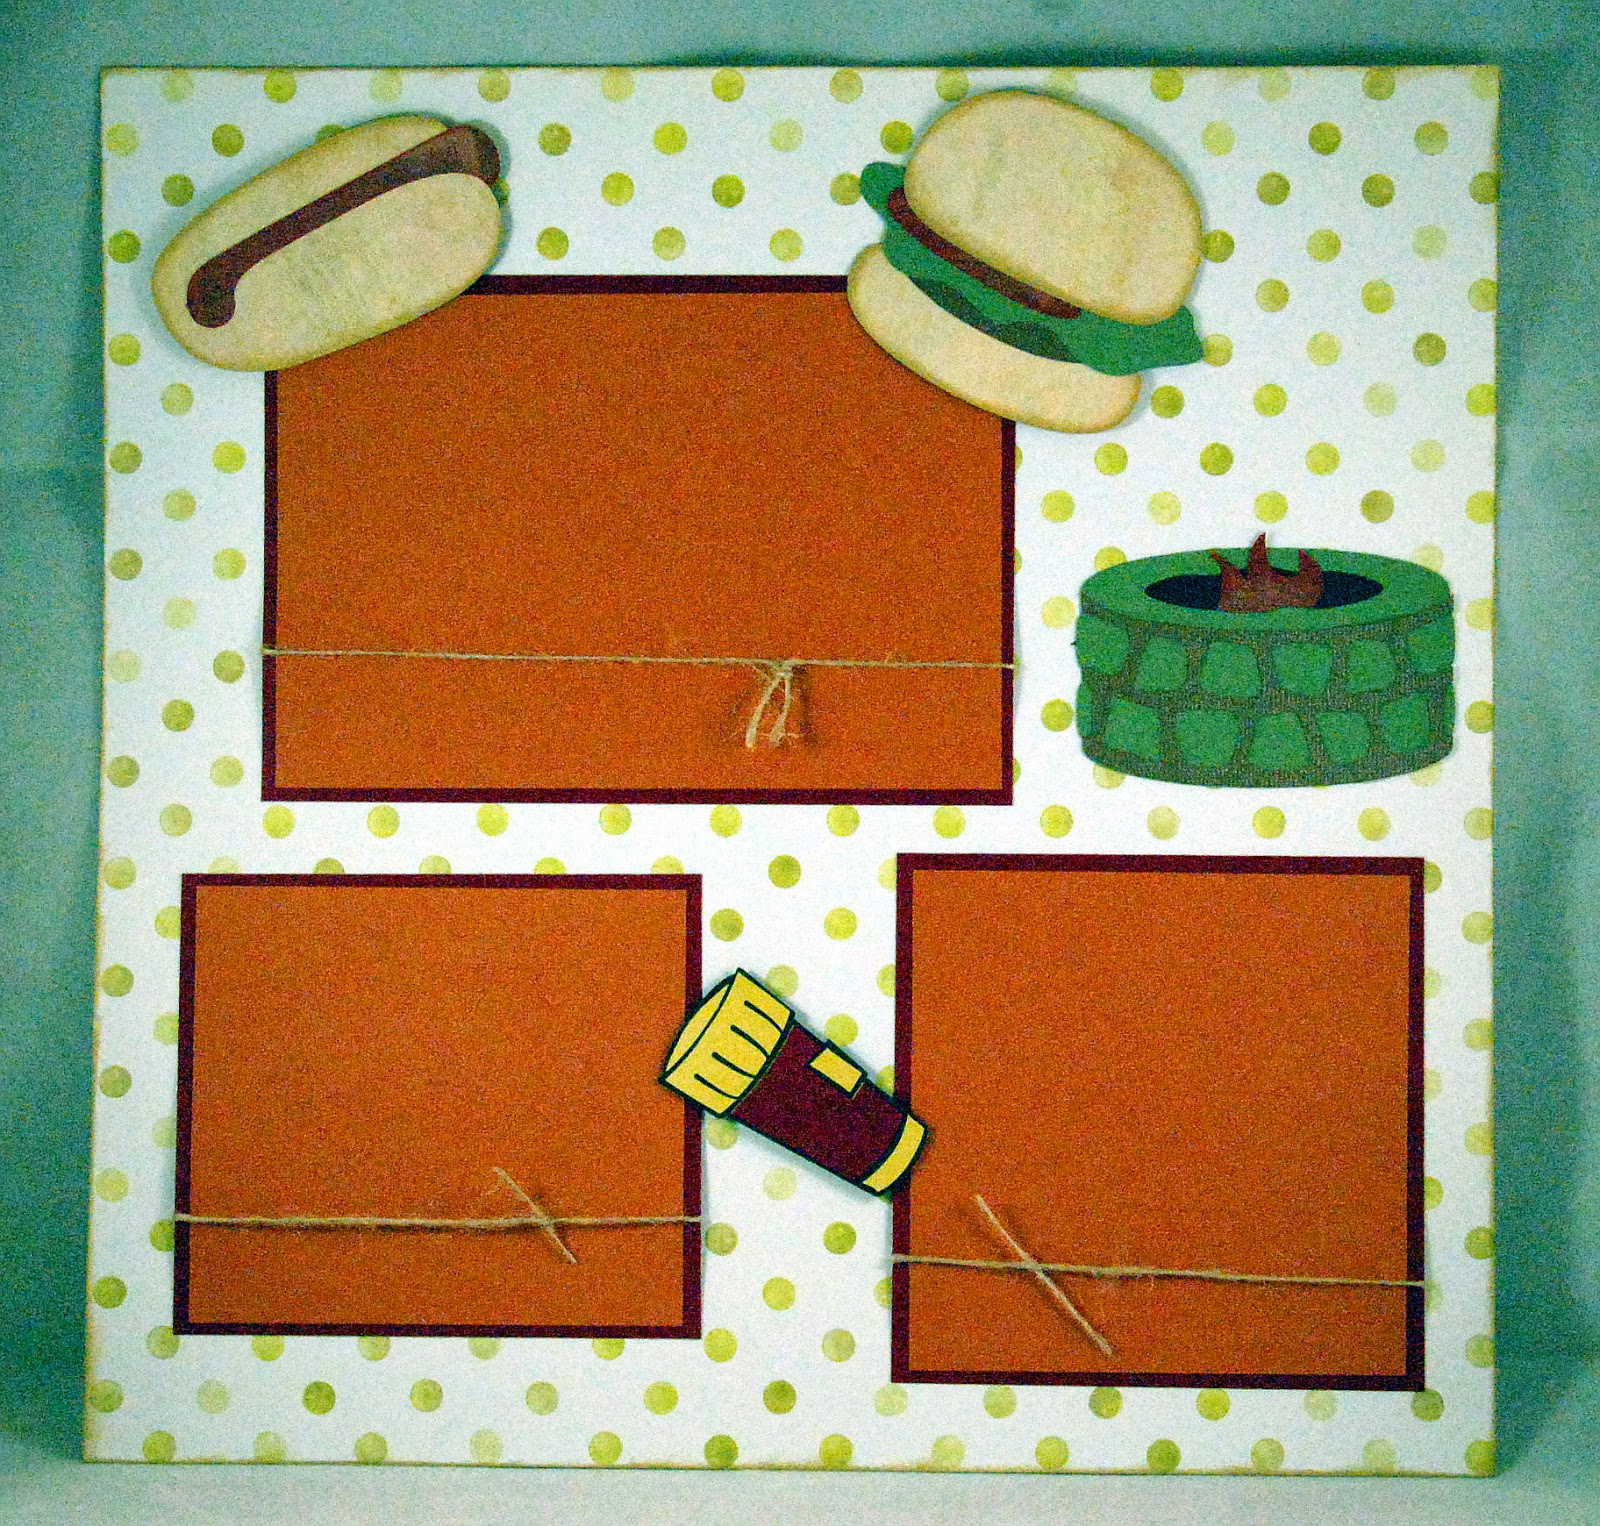
And here is the second page to my layout

 I used...

hot dog - Design ID # 19156
hamburger - Design ID #19154 
flashlight - Design ID #45224
fire pit & roasting sticks - Design ID # 45222

Until next time... Jearise :)
Related Posts with Thumbnails